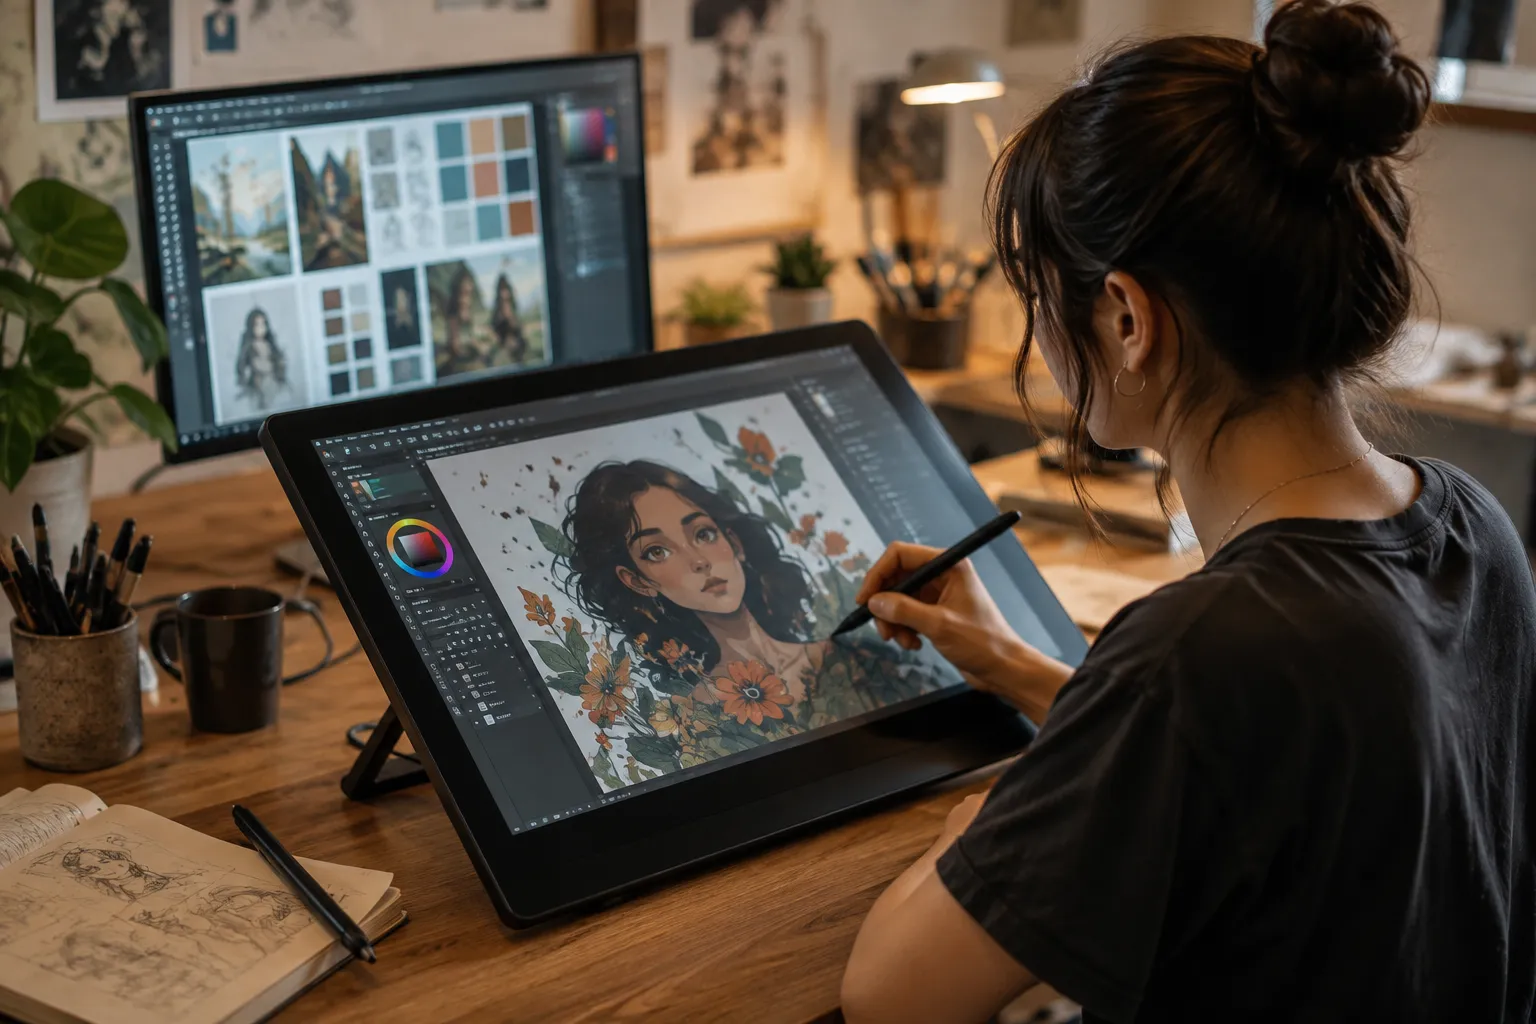
Learning how to start digital art can feel complicated when you're a beginner. There are drawing tablets, styluses, apps, brushes, layers, canvas sizes, color settings, and dozens of other choices before you've made your first brushstroke.
The good news is that you don't need an expensive studio or years of technical experience to begin.
To start digital art, you need a device to draw on, digital art software, and a way to control your brush—usually a stylus or drawing tablet. Start with simple brushes, learn layers and basic shortcuts, and practice drawing rather than trying to master every feature of your software at once.
Advertisement
This beginner's guide walks you through the entire process, from choosing your first setup to creating and exporting your first piece of digital artwork.
Disclosure: The Artillerist may earn a commission from qualifying purchases made through affiliate links in this article, at no additional cost to you.
What Is Digital Art?
Digital art is artwork created or modified using digital tools such as a computer, tablet, stylus, drawing tablet, or art application.
Instead of putting graphite on paper or paint on canvas, you interact with a digital canvas.
That can include:
- Digital painting
- Digital illustration
- Concept art
- Comics
- Character design
- Photo manipulation
- Pixel art
- 3D artwork
- Vector illustration
- Digital collage
If you're completely new to the subject, read our beginner's guide to digital artwork for a deeper explanation of what digital art is and how artists create it.
How to Start Digital Art: What Do You Need?
A beginner digital-art setup can be surprisingly simple.
At minimum, you need:
- A computer, tablet, or compatible mobile device
- Digital art software
- A mouse, stylus, or drawing tablet
- A screen on which you can accurately view your artwork
You don't need the most expensive equipment available.
For most beginners, developing drawing fundamentals and learning their software will matter considerably more than upgrading to professional equipment.
Step 1: Choose the Device You Want to Draw On
There are several ways to create digital art.
Computer and Drawing Tablet
One of the most common setups combines a Windows PC or Mac with a drawing tablet.
A screenless drawing tablet sits on your desk. You draw on the tablet while looking at your computer monitor.
These tablets can initially feel unusual because your hand and eyes are looking at different surfaces, but they can provide excellent pressure-sensitive drawing control at relatively affordable prices.
If you're considering one, see our guide to the best drawing tablets for beginners.
Pen Display
A pen display has a screen built into the drawing surface.
Instead of looking at a separate monitor, you draw directly over the image.
This can feel more intuitive to artists transitioning from paper because the relationship between the stylus and image feels more direct.
The tradeoff is usually price, desk space, and additional cables or hardware.
Standalone Tablet
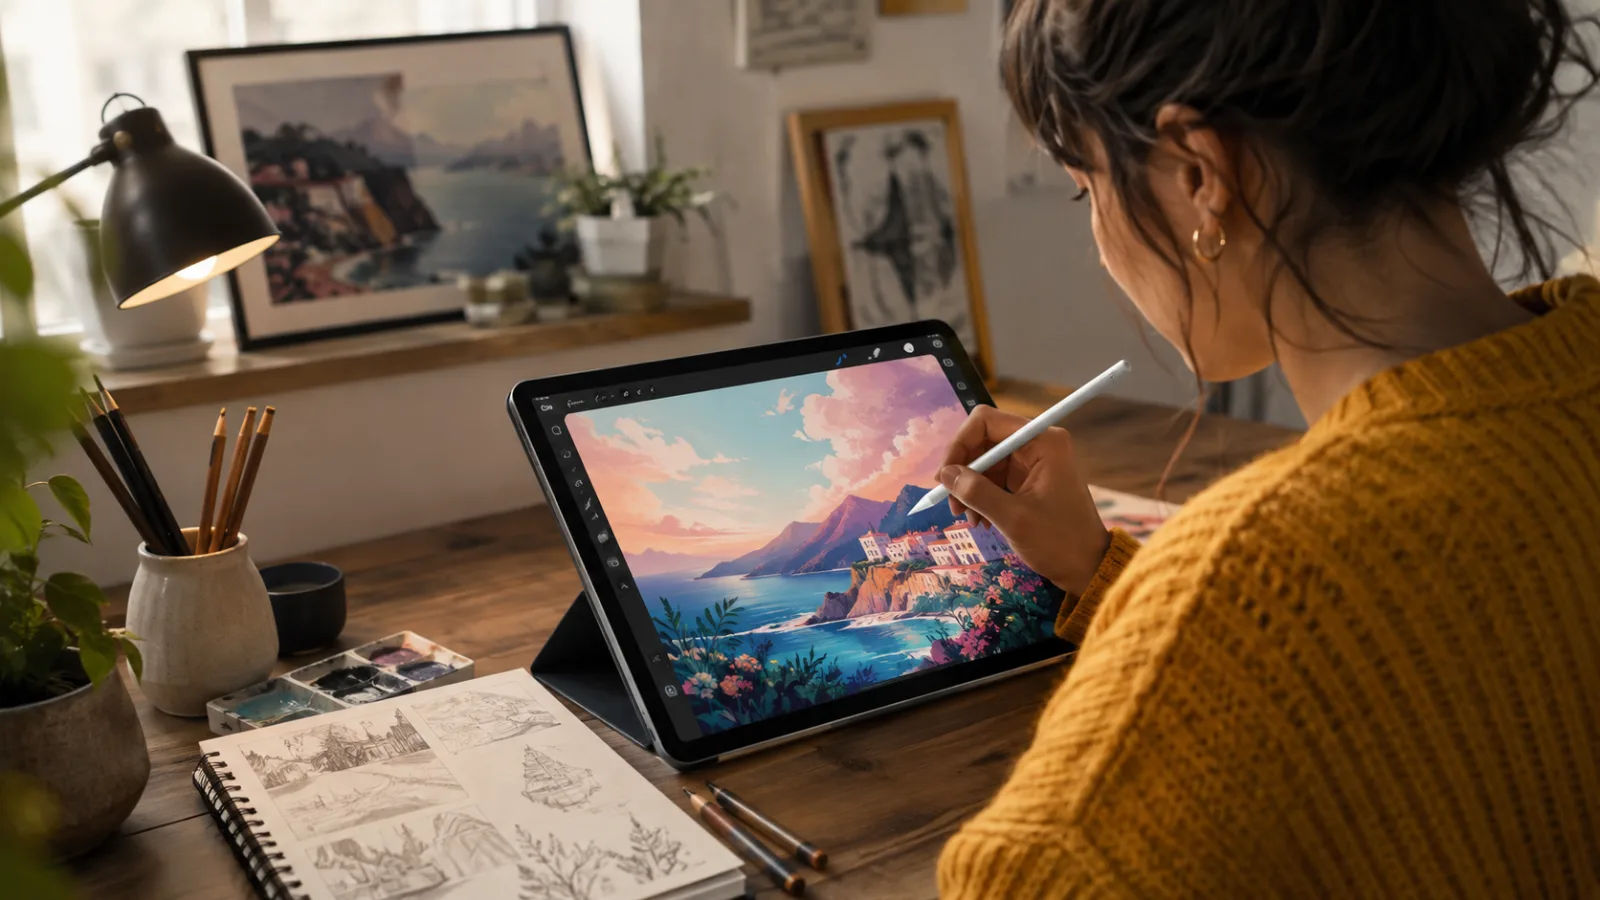
Devices such as an iPad and compatible stylus allow you to draw without a separate computer.
This is one of the most portable approaches to digital art.
Standalone tablets can be particularly attractive to beginners who want to sketch on a couch, at school, while traveling, or anywhere they don't have access to a desktop workstation.
Step 2: Choose Digital Art Software
Your software is your digital studio.
It provides the canvas, brushes, colors, layers, selection tools, transformations, effects, and other tools you'll use to create artwork.
Popular options include programs designed for painting and illustration as well as broader image-editing applications.
Don't choose software simply because it has the longest feature list.
For a beginner, look for:
- Pressure-sensitive brush support
- Layers
- Brush customization
- Selection tools
- Transform tools
- Undo and redo
- Common image export formats
- An interface you can understand
You also don't necessarily need paid software when you're learning. A free application can be more than capable of teaching you digital drawing fundamentals.
If you're considering Procreate but use a Windows computer, read Procreate for Windows: Can You Use Procreate on a PC?.
You can also read our Procreate vs Photoshop comparison if you're deciding between different creative workflows.
Step 3: Set Up Your Drawing Tablet
If you're using a drawing tablet or pen display, don't immediately start drawing after plugging it in.
Install the manufacturer's current driver and check your tablet settings first.
Pay particular attention to:
- Pen pressure
- Tablet mapping
- Stylus buttons
- Express keys
- Display calibration
- Working-area size
Pen pressure is especially important.
A properly configured pressure-sensitive stylus can allow a brush to become thicker, thinner, darker, lighter, or more opaque depending on how firmly you press.
That helps digital drawing feel much closer to working with traditional drawing tools.
Drawing Tablet Video Tutorial
If this is your first drawing tablet, Aaron Rutten's How to Use ANY Drawing Tablet: The Only Guide You Need is a useful visual companion to this guide.
The tutorial demonstrates screenless tablets, pen displays, and standalone drawing computers while covering pen navigation, pressure sensitivity, ergonomics, calibration, express keys, and other beginner fundamentals.
Step 4: Configure Your Monitor for Digital Art
Your monitor affects how you perceive your artwork.
A screen that's dramatically too bright, too dark, too warm, or too cool can cause you to make color and brightness decisions that don't translate well to other displays.
Before becoming obsessed with advanced calibration, get the fundamentals right.
Pay attention to:
- Brightness
- Contrast
- Gamma
- Color temperature
- Color space
- Ambient lighting
We've created a dedicated guide to the best monitor settings for digital art.
That is especially worth reading before you begin creating finished work for clients, printing, or selling artwork.
Step 5: Create Your First Digital Canvas
Open your art software and create a new document.
Don't worry about creating an enormous canvas for your first practice drawing.
For general practice, a canvas around 2000 to 3000 pixels on the longest side gives you enough room to draw comfortably without creating unnecessarily huge files.
The correct size ultimately depends on how the artwork will be used.
Artwork intended for social media has different requirements from a large-format art print.
For now, concentrate on creating comfortably rather than finding one supposedly perfect canvas size.
Step 6: Learn How Layers Work
Layers are one of the most important concepts in digital art.
Think of them as transparent sheets stacked on top of one another.
You might have:
- Layer 1 — rough sketch
- Layer 2 — clean line art
- Layer 3 — base colors
- Layer 4 — shadows
- Layer 5 — highlights
- Layer 6 — effects
Because these elements are separated, you can edit one without permanently changing everything underneath it.
For your first artwork, keep your layer structure simple.
You don't need 75 layers.
Start with a sketch layer, color layer, and perhaps separate shadow and highlight layers.
Step 7: Start With One or Two Brushes
One of the easiest beginner mistakes is downloading hundreds of brushes before learning how to draw with the basic ones.
Don't.
Start with a simple hard round brush or pencil-style brush.
Use it to practice:
- Straight lines
- Curved lines
- Circles
- Ellipses
- Boxes
- Line weight
- Pressure control
- Simple shading
Once you understand how brushes respond to your hand, specialty brushes become much more useful.
A fancy brush won't replace drawing fundamentals.
Step 8: Practice Basic Shapes
Complex subjects are collections of simpler forms.
A head can be simplified into spheres, planes, and wedges. A torso can be reduced to basic masses. Buildings can be constructed from boxes. Many everyday objects can be understood through cylinders, cubes, spheres, and cones.
Practice drawing:
- Circles
- Spheres
- Cubes
- Cylinders
- Cones
- Ellipses
Then try combining them.
This approach becomes especially important when you move into figure drawing. Our complete guide to drawing human anatomy for artists explains how artists can simplify complex anatomy into understandable forms.
Step 9: Learn Selection and Transform Tools
Digital artists have advantages that don't exist on paper.
If you draw something too large, you can resize it.
If an eye is positioned incorrectly, you can move it.
If an entire sketch needs to be rotated, you can rotate it.
Learn these tools early:
- Selection
- Move
- Scale
- Rotate
- Flip
- Crop
- Undo
- Redo
Using them isn't cheating.
They're part of the medium.
Step 10: Learn Color Without Making It Complicated
You don't need to master color theory before making digital art.
Start by understanding a few concepts:
Hue is the basic identity of a color.
Saturation describes its intensity.
Value describes how light or dark it is.
Value is particularly important.
A painting with beautiful colors but poor values can be difficult to read. A painting with strong values can often remain understandable even when viewed in grayscale.
Try making some grayscale studies before worrying about complex color palettes.
Step 11: Use References
References are learning tools.
Professional artists use them too.
If you're drawing a hand, look at hands. If you're painting clouds, study clouds. If you're designing armor, research how real armor is constructed.
References can help you understand:
- Anatomy
- Lighting
- Materials
- Perspective
- Clothing
- Architecture
- Color
- Poses
The goal isn't to mindlessly copy another artist's finished work. It's to gather visual information that helps you understand what you're trying to create.
Step 12: Make Your First Finished Digital Artwork
Practice exercises are valuable, but eventually you need to finish something.
Keep your first project manageable.
Try:
- Create a rough sketch.
- Correct the proportions.
- Lower the sketch layer's opacity.
- Add cleaner lines on another layer if your style uses line art.
- Add base colors.
- Establish the primary light source.
- Add shadows.
- Add highlights.
- Make final color adjustments.
- Export the finished artwork.
Your first finished digital painting doesn't need to be portfolio quality.
Finishing teaches you parts of the creative process that endless sketching doesn't.
What File Format Should You Use for Digital Art?
Save your editable working file in your software's native format so that layers and other editable information remain intact.
For exported images, common formats include:
PNG
Useful when you want high-quality images or transparency.
JPEG
Useful for smaller files, photographs, and sharing finished artwork online when transparency isn't necessary.
PSD
Useful in workflows involving Adobe Photoshop and applications that support Photoshop documents.
Never keep only the exported JPEG or PNG.
Keep your original layered working file as well.
Do You Need to Know How to Draw Before Starting Digital Art?
No.
You can learn drawing and digital-art techniques simultaneously.
However, digital tools don't eliminate the importance of fundamentals such as:
- Shape
- Form
- Perspective
- Value
- Composition
- Anatomy
- Color
- Lighting
The software is a tool. Your artistic decisions still determine the artwork.
If you're interested in figure drawing, anatomy for artists is one area where traditional drawing knowledge transfers directly into digital work.
Is Digital Art Easier Than Traditional Art?
Digital art isn't necessarily easier than traditional art—it offers different advantages.
Digital artists have access to undo, layers, selections, transformations, customizable brushes, and rapid color adjustments.
Traditional artists develop different skills related to physical materials, paint mixing, surface control, and working without unlimited revisions.
Neither medium automatically produces better artists.
Many artists use both.
Can You Learn Digital Art Without a Drawing Tablet?
Yes.
You can create digital artwork with a mouse, touchscreen, trackpad, or other input device.
However, artists who want to draw and paint naturally will usually benefit from a pressure-sensitive stylus.
You don't need a professional pen display to begin. An inexpensive screenless tablet can provide the pressure sensitivity needed to learn digital drawing.
See our drawing tablet guide for beginners if you're deciding what type to buy.
How Long Does It Take to Learn Digital Art?
There is no fixed amount of time required to learn digital art.
Someone with traditional drawing experience may become comfortable with digital tools quickly, while a completely new artist is learning both drawing fundamentals and software at the same time.
Instead of measuring progress by months, measure it by completed work.
Try creating consistently for several weeks and compare your newest drawings with your earliest ones.
Improvement becomes easier to recognize when you have finished work to compare.
Common Digital Art Mistakes Beginners Make
Buying Expensive Equipment Too Early
A more expensive tablet won't automatically improve your drawing fundamentals.
Learn what limitations you're actually encountering before upgrading.
Using Too Many Brushes
Learn a few versatile brushes before collecting hundreds of specialized ones.
Zooming In Too Far
Constantly zooming into tiny details can prevent you from noticing larger problems with proportions and composition.
Zoom out regularly.
Ignoring Your Monitor
Colors can look dramatically different when your display is poorly configured.
Review our digital-art monitor settings guide if you're unsure about your setup.
Comparing Yourself With Experienced Artists
You're seeing the finished work of people who may have spent thousands of hours developing their skills.
Compare your current work with your previous work instead.
Never Finishing Anything
Sketching is valuable, but completing artwork teaches composition, rendering, color correction, exporting, and decision-making.
Make finishing part of your practice.
A Simple 30-Day Digital Art Practice Plan
If you don't know what to practice, try this:
Week 1: Control
Practice lines, curves, circles, ellipses, pen pressure, and simple shapes.
Week 2: Form
Draw cubes, cylinders, spheres, everyday objects, and simple lighting studies.
Week 3: Observation
Draw from references. Concentrate on proportion, value, and shape rather than tiny details.
Week 4: Finished Artwork
Use what you've practiced to create one complete illustration.
At the end of the month, compare your finished piece with your drawings from the first week.
Then repeat the process with more challenging subjects.
Frequently Asked Questions About Starting Digital Art
What do I need to start digital art?
You need a computer or tablet, digital art software, and an input device. A pressure-sensitive stylus or drawing tablet is recommended for drawing and painting, but beginners don't need expensive professional equipment.
Can a beginner start digital art?
Yes. Digital art is accessible to complete beginners. Start with basic drawing exercises and learn essential software features such as brushes, layers, selections, transformations, and exporting before moving into advanced techniques.
What should a beginner digital artist learn first?
Learn basic stylus control, simple shapes, layers, brush settings, selections, transformations, value, and basic drawing fundamentals. Avoid trying to learn every feature in your software simultaneously.
Do I need a drawing tablet for digital art?
No, but a pressure-sensitive drawing tablet or stylus generally provides more natural control for drawing and painting than a mouse.
What is the best digital art software for beginners?
The best program depends on your device, budget, and type of artwork. Beginners should prioritize an intuitive interface, pressure-sensitive brushes, layers, selections, transformations, and reliable export options rather than simply choosing the application with the most features.
Is an iPad or drawing tablet better for beginners?
An iPad or other standalone tablet offers portability and direct-on-screen drawing. A traditional drawing tablet can be considerably less expensive if you already own a capable computer. Either can be an excellent way to learn digital art.
Additional Digital Art Resources
For additional technical information about digital drawing and painting, Adobe provides educational resources explaining digital illustration, drawing tools, brushes, layers, and creative workflows.
When learning a specific drawing tablet or application, we also recommend consulting the manufacturer's official documentation because driver installation, pressure settings, supported features, and software requirements can change over time.
Bottom Line: How to Start Digital Art
The best way to start digital art is to keep your setup simple: choose a computer or tablet, use beginner-friendly art software, learn a few basic brushes and layers, and practice consistently. You do not need expensive equipment to begin.
Start with what you have.
Choose one program. Learn a few brushes. Practice basic forms. Use references. Finish small projects.
Then improve your equipment and workflow as your skills grow.
Digital art is a medium, not a shortcut. The same fundamentals that make traditional artwork compelling—drawing, composition, value, color, anatomy, and visual storytelling—still matter.
The advantage is that digital tools give you an extraordinarily flexible environment in which to practice them.
Create a canvas, pick up your stylus, and make the first mark.