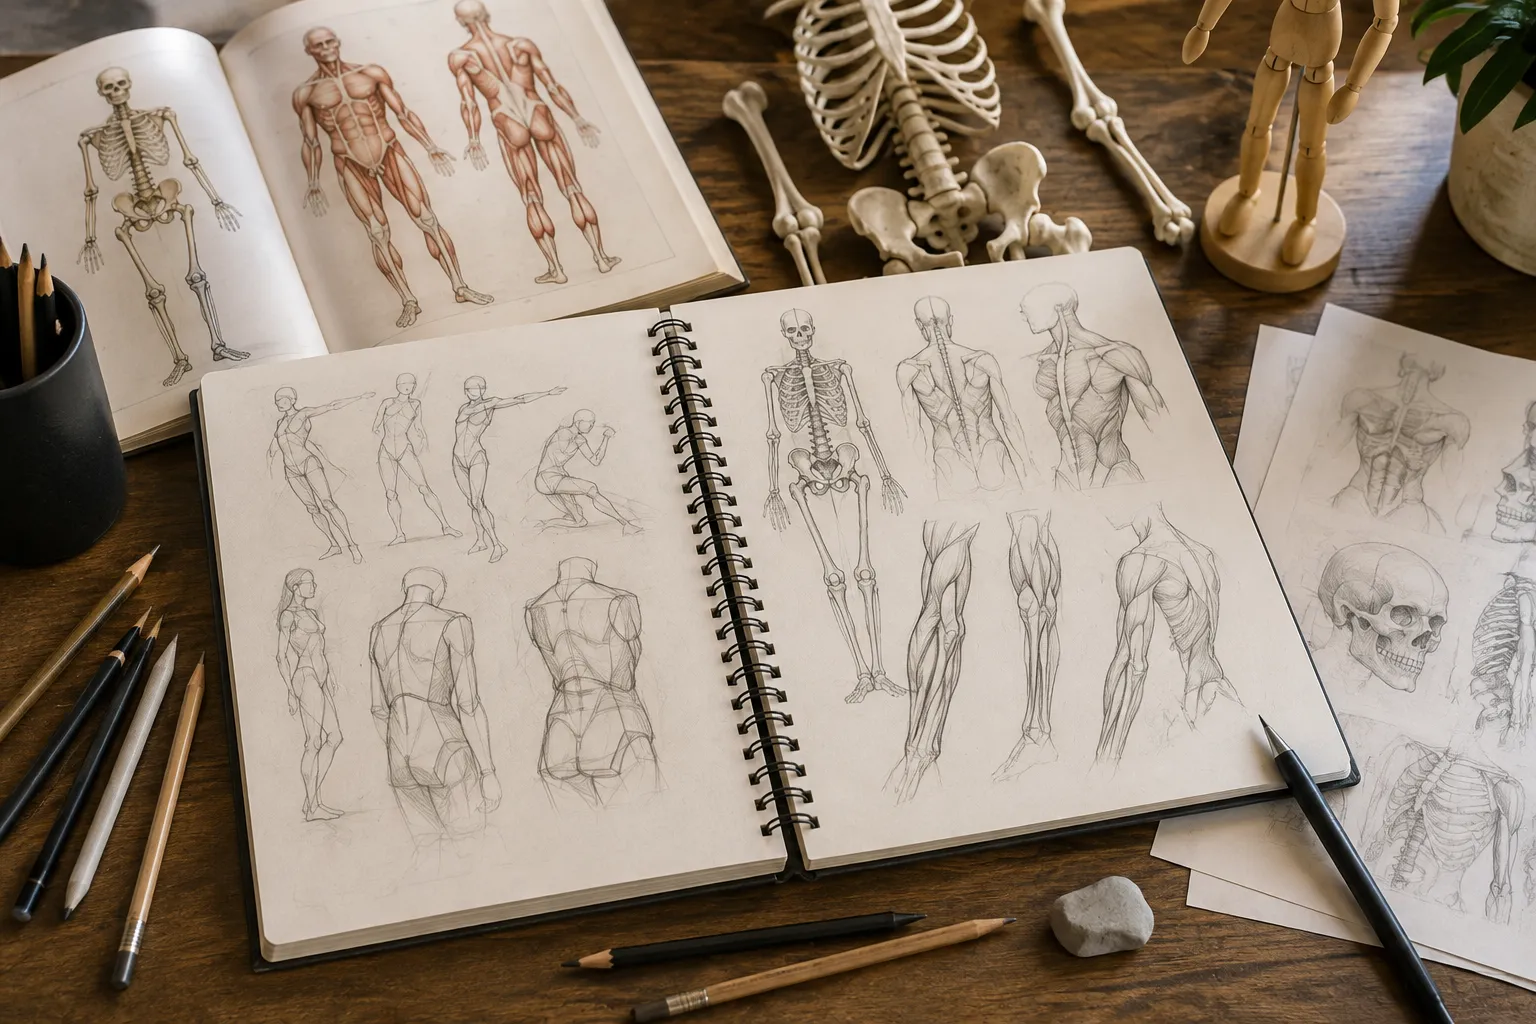
How to Learn Anatomy for Drawing: A Beginner's Guide for Artists
Learning how to learn anatomy for drawing can feel overwhelming when you're confronted with hundreds of muscles, bones, anatomical diagrams, and unfamiliar terms.
The good news is that artists don't need to memorize the human body like medical students.
Artists need to understand enough anatomy to recognize the major forms beneath the skin, understand how those forms move, and simplify them into shapes that can be drawn from different angles.
Advertisement
If you're a beginner, the best approach is to learn anatomy in stages: gesture → proportions → simple forms → skeleton → major muscles → individual body parts → application from imagination.
This guide will walk you through that process step by step.
Do Artists Really Need to Learn Anatomy?
Yes, artists who regularly draw people can benefit significantly from learning anatomy.
Anatomy helps you understand why the human body looks the way it does.
Instead of memorizing the outline of an arm, for example, you begin understanding the underlying forms responsible for that silhouette.
This becomes especially useful when:
- Drawing figures from imagination
- Designing characters
- Changing poses
- Exaggerating proportions
- Drawing different body types
- Creating believable movement
- Drawing stylized characters
- Correcting figures that don't look quite right
However, you don't need to know every anatomical structure before you start drawing people.
Start with the structures that have the greatest visual impact.
For a broader introduction, read our Human Anatomy for Artists guide.
What Anatomy Should Artists Learn First?
Beginners should start with gesture, proportions, simple three-dimensional forms, the skeleton, and major muscle groups.
A useful learning order is:
- Gesture
- Human proportions
- Basic three-dimensional forms
- Skeleton and major landmarks
- Torso
- Arms
- Legs
- Hands and feet
- Head and neck
- Major muscle groups
Don't start by trying to memorize every muscle in an anatomy book.
First learn how the entire body works as one connected structure.
Step 1: Start With Gesture Drawing
Before studying individual muscles, learn to capture the movement of the entire figure.
Gesture drawing focuses on:
- Direction
- Weight
- Balance
- Rhythm
- Movement
- Pose
Rather than carefully outlining the body, try capturing the action of the pose with a few simple lines.
You can practice with short poses of:
- 30 seconds
- 1 minute
- 2 minutes
- 5 minutes
The time limit discourages you from obsessing over details.
Ask yourself:
Where is the figure's weight?
Which direction is the torso moving?
How do the shoulders relate to the hips?
What is the main line of action?
A technically accurate figure can still feel stiff if the gesture isn't convincing.
That's why gesture should come before detailed anatomy.
Step 2: Learn Basic Human Proportions
Once you understand gesture, begin studying proportions.
A commonly taught artistic convention uses the head as a unit of measurement.
An adult figure is often represented at roughly seven-and-a-half to eight heads tall in idealized figure-drawing systems, although real human proportions vary considerably.
Don't treat these measurements as rigid rules.
Use them as starting points.
Pay particular attention to relationships such as:
- Head to torso
- Shoulder width
- Rib cage to pelvis
- Upper arm to forearm
- Upper leg to lower leg
- Hand size relative to the face
- Foot size relative to the body
The goal is to develop an intuitive sense of how the major parts relate to one another.
Step 3: Turn the Body Into Simple Forms
This is one of the most useful anatomy exercises for beginners.
Instead of seeing:
arm
try seeing:
cylinders + joints
Instead of:
torso
think:
rib cage + pelvis
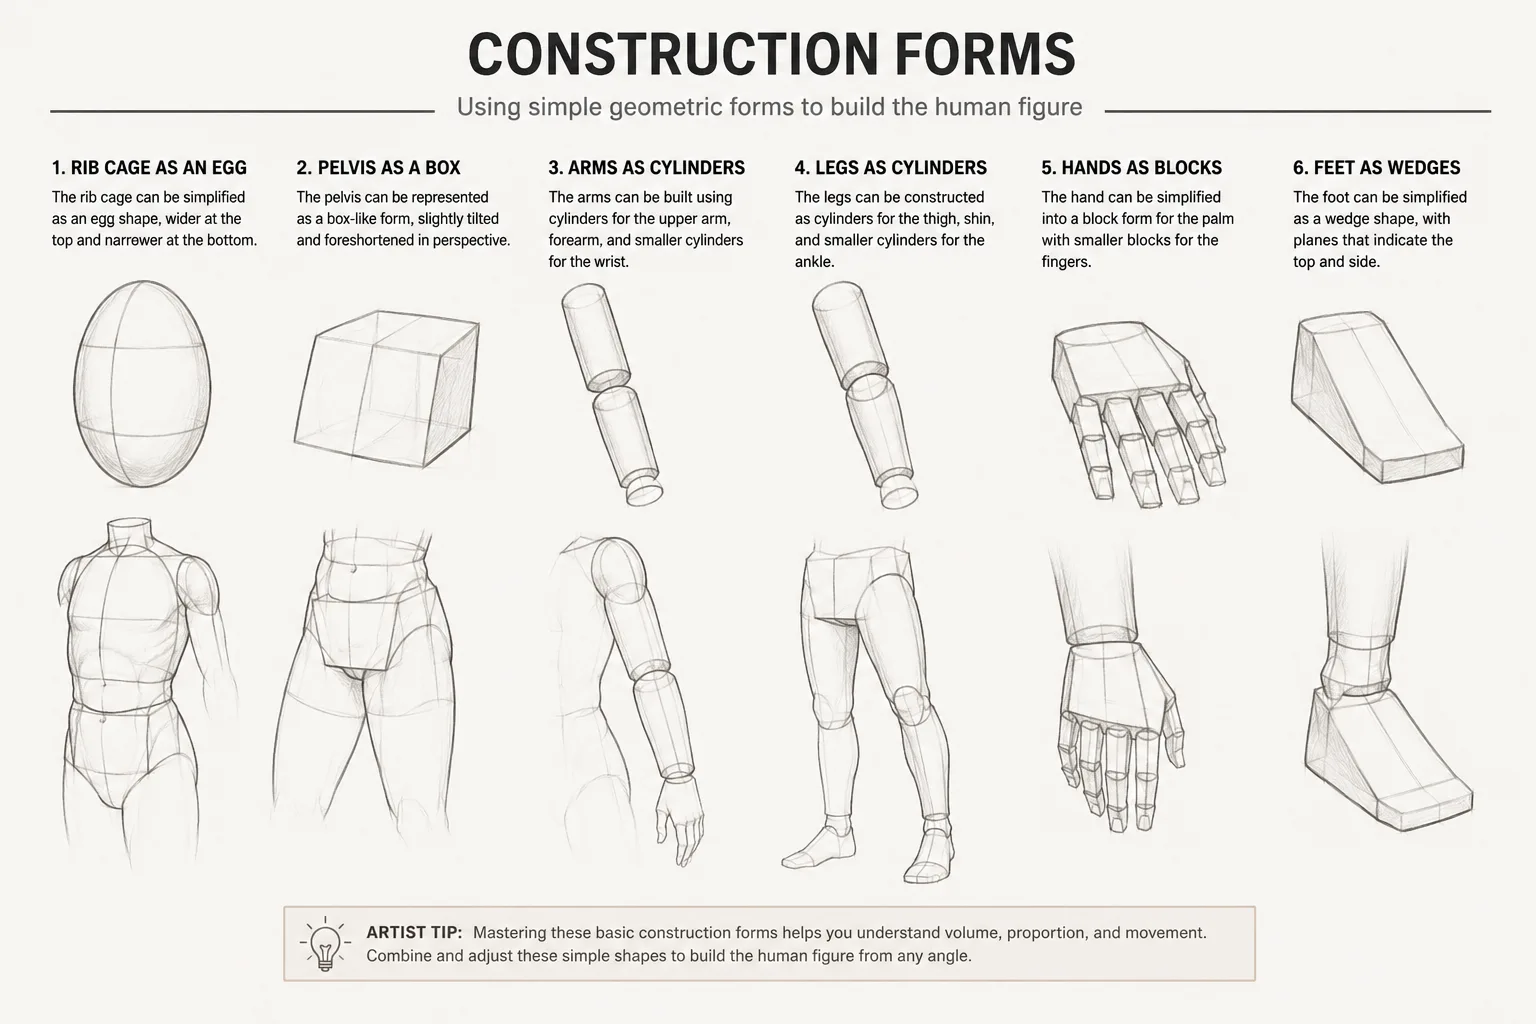
Break the figure into forms such as:
- Spheres
- Boxes
- Cylinders
- Wedges
- Egg shapes
For example:
Head → simplified sphere/box
Rib cage → egg-shaped mass
Pelvis → box or bowl
Arms → tapered cylinders
Legs → tapered cylinders
Joints → spheres
This helps transform anatomy from a collection of complicated outlines into three-dimensional structures.
Why Is This Important?
Because artists rarely draw every subject perfectly from the front.
You'll eventually need to rotate figures.
If you understand the body as three-dimensional forms, it becomes much easier to imagine those forms from above, below, behind, and at unusual angles.
Step 4: Learn the Skeleton
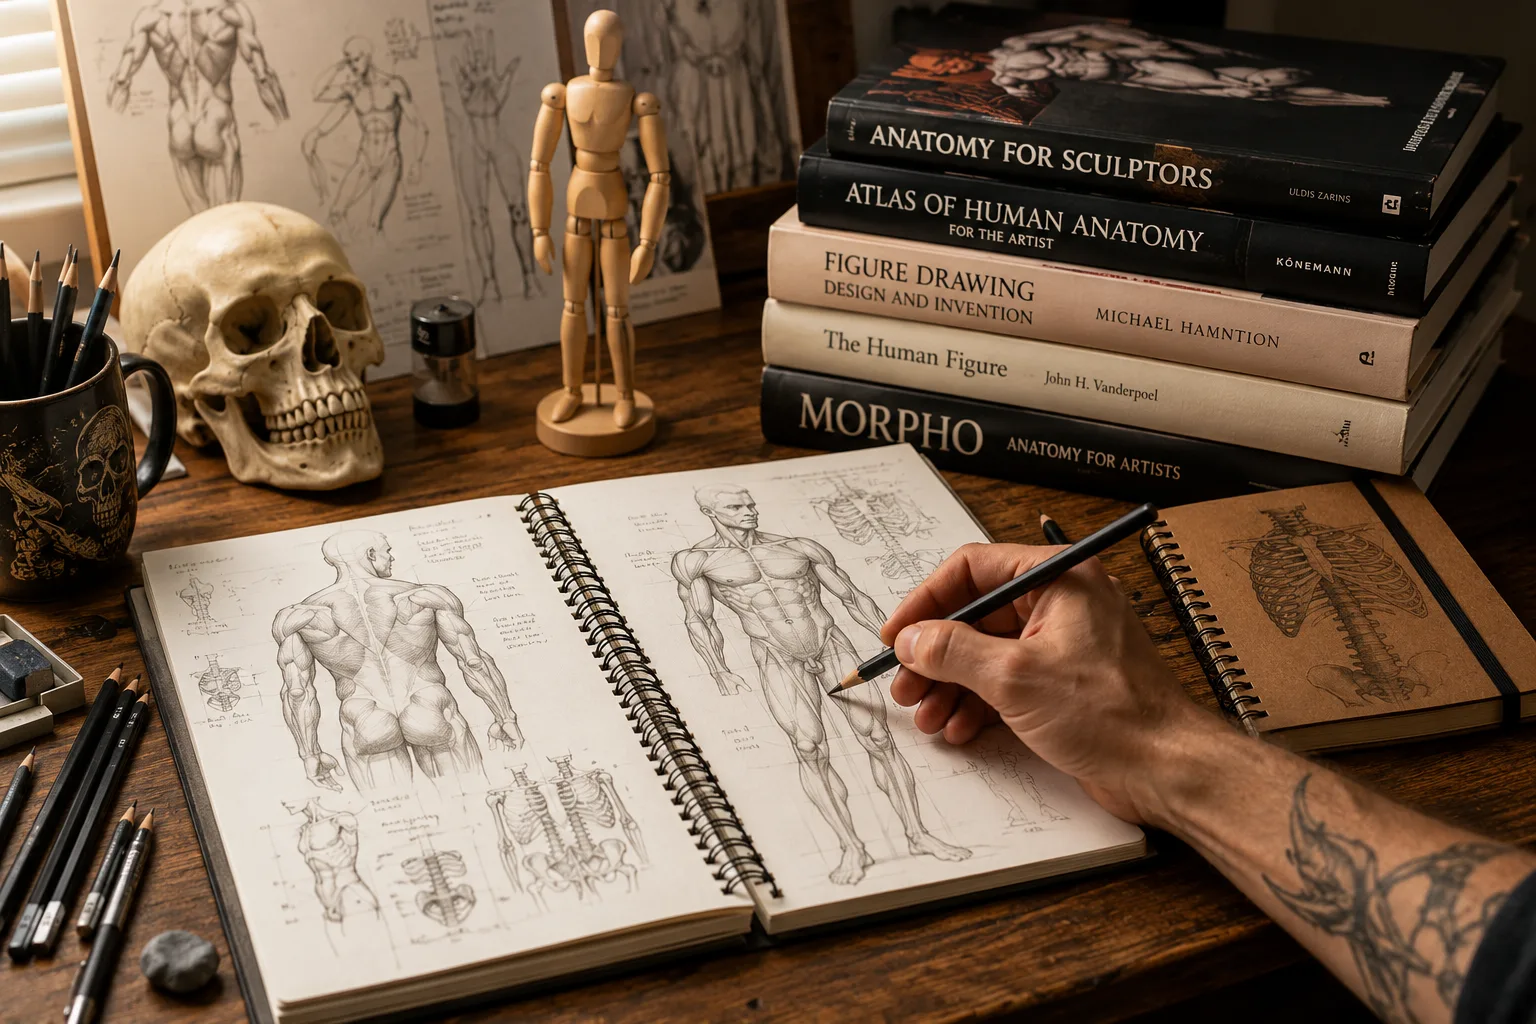
You don't need to memorize every bone.
Focus first on the structures that influence the body's visible form and movement.
Important areas include:
- Skull
- Spine
- Rib cage
- Pelvis
- Clavicle
- Scapula
- Humerus
- Radius and ulna
- Femur
- Patella
- Tibia and fibula
Pay particular attention to bony landmarks.
These are areas where the skeleton can influence the surface of the body.
Examples include:
- Collarbone
- Elbow
- Kneecap
- Ankle
- Hip landmarks
- Wrist
Understanding these landmarks gives you reliable reference points when constructing a figure.
Step 5: Study the Rib Cage and Pelvis
If you're unsure where to focus first, study the torso.
The rib cage and pelvis are two of the most important masses in figure drawing.
Think of them as separate three-dimensional forms connected by the spine.
Practice drawing them:
- From the front
- From behind
- From the side
- From above
- From below
- Twisting in opposite directions
The relationship between the rib cage and pelvis creates much of the movement we perceive in the human figure.
When someone walks, bends, twists, or shifts their weight, these forms rarely remain perfectly aligned.
Understanding that relationship can dramatically improve your poses.
Step 6: Learn the Major Muscle Groups
Once the skeleton and basic forms make sense, begin adding muscles.
Again, don't start by memorizing everything.
Focus on large forms that noticeably affect the body's surface.
These include areas such as:
- Deltoids
- Pectorals
- Trapezius
- Latissimus dorsi
- Abdominal muscles
- Biceps
- Triceps
- Forearm groups
- Gluteal muscles
- Quadriceps
- Hamstrings
- Calves
Ask three questions when studying each muscle:
Where does it begin?
Where does it attach?
What happens to its visible form when the body moves?
For artists, understanding the shape and function of a muscle is generally more useful than simply memorizing its name.
Step 7: Study One Body Part at a Time
After developing a basic understanding of the whole figure, isolate difficult areas.
You might spend several drawing sessions studying only:
- Hands
- Feet
- Arms
- Legs
- Shoulders
- Torso
- Head
- Neck
This allows you to go deeper without trying to understand the entire body simultaneously.
Hands deserve particular attention because of their complexity and expressive potential.
A useful exercise is to draw your own hand in multiple positions:
- Open
- Closed
- Making a fist
- Holding an object
- Pointing
- Viewed from the side
- Viewed from the back
- Viewed from the palm
Don't merely copy the outline.
Try to understand the forms underneath it.
Step 8: Draw Anatomy From Reference
Reference images are extremely valuable when studying anatomy.
Use photographs and real figures to investigate:
- Proportions
- Foreshortening
- Muscle placement
- Weight
- Movement
- Body variation
But don't simply copy the photograph.
Try this exercise:
Anatomy Reference Exercise
Drawing 1: Draw the pose normally.
Drawing 2: Draw only the gesture.
Drawing 3: Draw the skeleton.
Drawing 4: Draw the figure as simple forms.
Drawing 5: Add the major anatomical forms.
You're studying the same subject five different ways.
That forces you to think about what is happening underneath the surface rather than simply copying what you see.
Step 9: Draw the Same Pose From Memory
After completing a reference study, hide the reference.
Then draw the pose again from memory.
It probably won't be perfect.
That's the point.
Compare your memory drawing with the reference and identify what you forgot.
Maybe you misunderstood:
- Shoulder placement
- Pelvis angle
- Arm length
- Rib cage orientation
- Muscle shape
Return to the reference, study the problem, and try again.
This transforms reference drawing from copying into active learning.
Step 10: Draw Anatomy From Imagination
Ultimately, anatomy knowledge becomes most powerful when you can apply it without directly copying a photograph.
Start simply.
Draw a basic standing figure from imagination.
Then try:
- Sitting
- Running
- Reaching
- Crouching
- Jumping
- Twisting
Don't worry about producing finished illustrations.
Think of these as tests.
Whenever something looks wrong, identify the problem and return to your anatomy references.
This creates a productive cycle:
Study → Draw → Identify weakness → Study → Draw again
That's much more effective than endlessly copying references without testing what you've actually learned.
How Should Concept Artists Study Anatomy?
Concept artists often need to manipulate anatomy rather than simply reproduce it.
You may need to design:
- Heroes
- Creatures
- Monsters
- Stylized characters
- Different body types
- Exaggerated proportions
That requires understanding the rules well enough to intentionally break them.
For example, you might exaggerate:
- Shoulder width
- Hand size
- Leg length
- Head size
- Torso proportions
- Muscle mass
The anatomy doesn't necessarily need to be realistic.
It needs to be internally believable.
We explore this subject further in Anatomy for Concept Artists.
Should You Learn Anatomy Before Developing an Art Style?
No.
You can study anatomy and develop your art style simultaneously.
In fact, understanding anatomy gives you more control over stylization.
Once you understand realistic proportions, you can intentionally decide to:
- Enlarge heads
- Lengthen limbs
- Simplify hands
- Exaggerate shoulders
- Distort faces
- Flatten forms
That's very different from accidentally drawing something incorrectly.
If you're working on your visual identity, try the exercises in How to Find Your Art Style: 10 Exercises for Artists.
Can Digital Artists Learn Anatomy the Same Way?
Yes.
The fundamental principles of anatomy don't change because you're using a drawing tablet.
Digital artists can practice:
- Gesture
- Construction
- Skeleton studies
- Muscle studies
- Tracing anatomical structures for private study
- Reference drawing
- Memory drawing
One advantage of digital art is layers.
For example:
Layer 1: Reference
Layer 2: Skeleton
Layer 3: Simple forms
Layer 4: Muscles
Layer 5: Finished figure
Turning layers on and off lets you study how the structures relate.
If you're new to working digitally, start with How to Start Digital Art: A Complete Beginner's Guide.
What Is the Best Way to Practice Anatomy Every Day?
You don't need to spend hours studying anatomy every day.
A simple 30-minute anatomy routine could look like this:
| Time | Exercise |
|---|---|
| 5 minutes | Gesture drawings |
| 5 minutes | Simple figure construction |
| 10 minutes | Study one anatomical area |
| 5 minutes | Draw it from memory |
| 5 minutes | Draw it from imagination |
Consistency matters more than occasionally doing an enormous anatomy study session.
Thirty focused minutes several times per week can accumulate into a substantial amount of practice.
What Are the Most Common Anatomy Drawing Mistakes?
Beginners commonly struggle with:
Drawing Symbols Instead of Forms
An arm isn't two lines connecting a shoulder and hand.
Think three-dimensionally.
Focusing on Muscles Too Early
Large muscles won't fix incorrect proportions or a weak gesture.
Build the structure first.
Copying Without Understanding
Ask what the forms are doing instead of simply reproducing outlines.
Ignoring the Skeleton
Muscles need a structure to attach to.
Understanding the skeleton makes muscle placement much easier.
Only Drawing One Body Type
Human bodies vary enormously.
Study people of different:
- Ages
- Heights
- Builds
- Proportions
Anatomy is not the same thing as drawing one idealized body.
Avoiding Difficult Body Parts
If you hate drawing hands, that's probably a sign you should draw more hands.
How Long Does It Take to Learn Anatomy for Drawing?
There is no fixed timeline.
You can learn useful anatomical concepts relatively quickly, but developing an intuitive understanding of the human figure can take years of continued practice.
You don't need to "finish learning anatomy" before creating artwork.
Instead, anatomy should become a resource you return to whenever your work reveals a weakness.
Even experienced artists continue studying the figure.
What Should You Study After Basic Anatomy?
Once you're comfortable with basic anatomy, continue into:
- Advanced gesture
- Foreshortening
- Perspective
- Facial anatomy
- Hand anatomy
- Clothing and drapery
- Body types
- Character design
- Stylization
- Movement
This is where anatomy starts connecting with the rest of your artistic knowledge.
Conclusion: How to Learn Anatomy for Drawing
The best way to learn anatomy for drawing is not to memorize an entire anatomy book.
Learn the body progressively.
Start with:
- Gesture
- Proportions
- Simple forms
- Skeleton
- Rib cage and pelvis
- Major muscles
- Individual body parts
- Reference studies
- Memory drawing
- Drawing from imagination
Most importantly, alternate between studying and drawing.
Anatomy knowledge becomes useful when you can apply it to the artwork you actually want to make.
You don't need to know every muscle.
You need enough understanding of the structures beneath the skin to make intentional decisions about the forms above it.
Start with one figure today.
Draw the gesture.
Build the rib cage and pelvis.
Add the limbs as simple forms.
Then compare your drawing with a reference.
That's how anatomy gradually becomes something you understand rather than something you memorize.
Frequently Asked Questions
What anatomy should artists learn first?
Artists should begin with gesture, basic human proportions, simple three-dimensional forms, the skeleton, rib cage, pelvis, and major muscle groups before studying smaller anatomical details.
Do you need to know anatomy to draw people?
You don't need extensive anatomy knowledge to begin drawing people, but learning anatomy can help you create more believable figures, understand movement, correct mistakes, and draw poses from imagination.
Should I learn anatomy or gesture first?
Start with gesture. Gesture teaches movement, weight, rhythm, and the overall action of the figure. Anatomy can then be built on top of that foundation.
Do artists need to memorize every muscle?
No. Artists generally benefit more from understanding the major muscles that affect visible form and movement than memorizing every muscle in the human body.
How do beginners practice anatomy drawing?
Begin with gesture drawings and simple construction. Study one anatomical area at a time, draw it from reference, redraw it from memory, and eventually practice drawing it from imagination.
How long does it take to learn anatomy for art?
There is no fixed timeline. Artists can learn useful anatomy fundamentals within months of consistent practice, but understanding and applying anatomy intuitively can continue developing throughout an artistic career.
Can I learn anatomy while developing my art style?
Yes. Anatomy and style can develop together. Learning realistic structure can actually give you more control when intentionally simplifying, exaggerating, or distorting anatomy.
Is anatomy important for digital artists?
Yes. Anatomy principles apply equally to traditional and digital art. Digital layers can also make it easier to separate and study the skeleton, simple forms, muscles, and finished figure.
How often should artists practice anatomy?
Short, consistent practice sessions are usually more manageable than occasional marathon sessions. Even 20–30 minutes several times per week can provide meaningful practice over time.
Can I draw stylized characters without learning realistic anatomy?
Yes, but understanding realistic anatomy can make stylization more intentional. Knowing how the body normally works helps you decide which proportions and forms to exaggerate, simplify, or change.