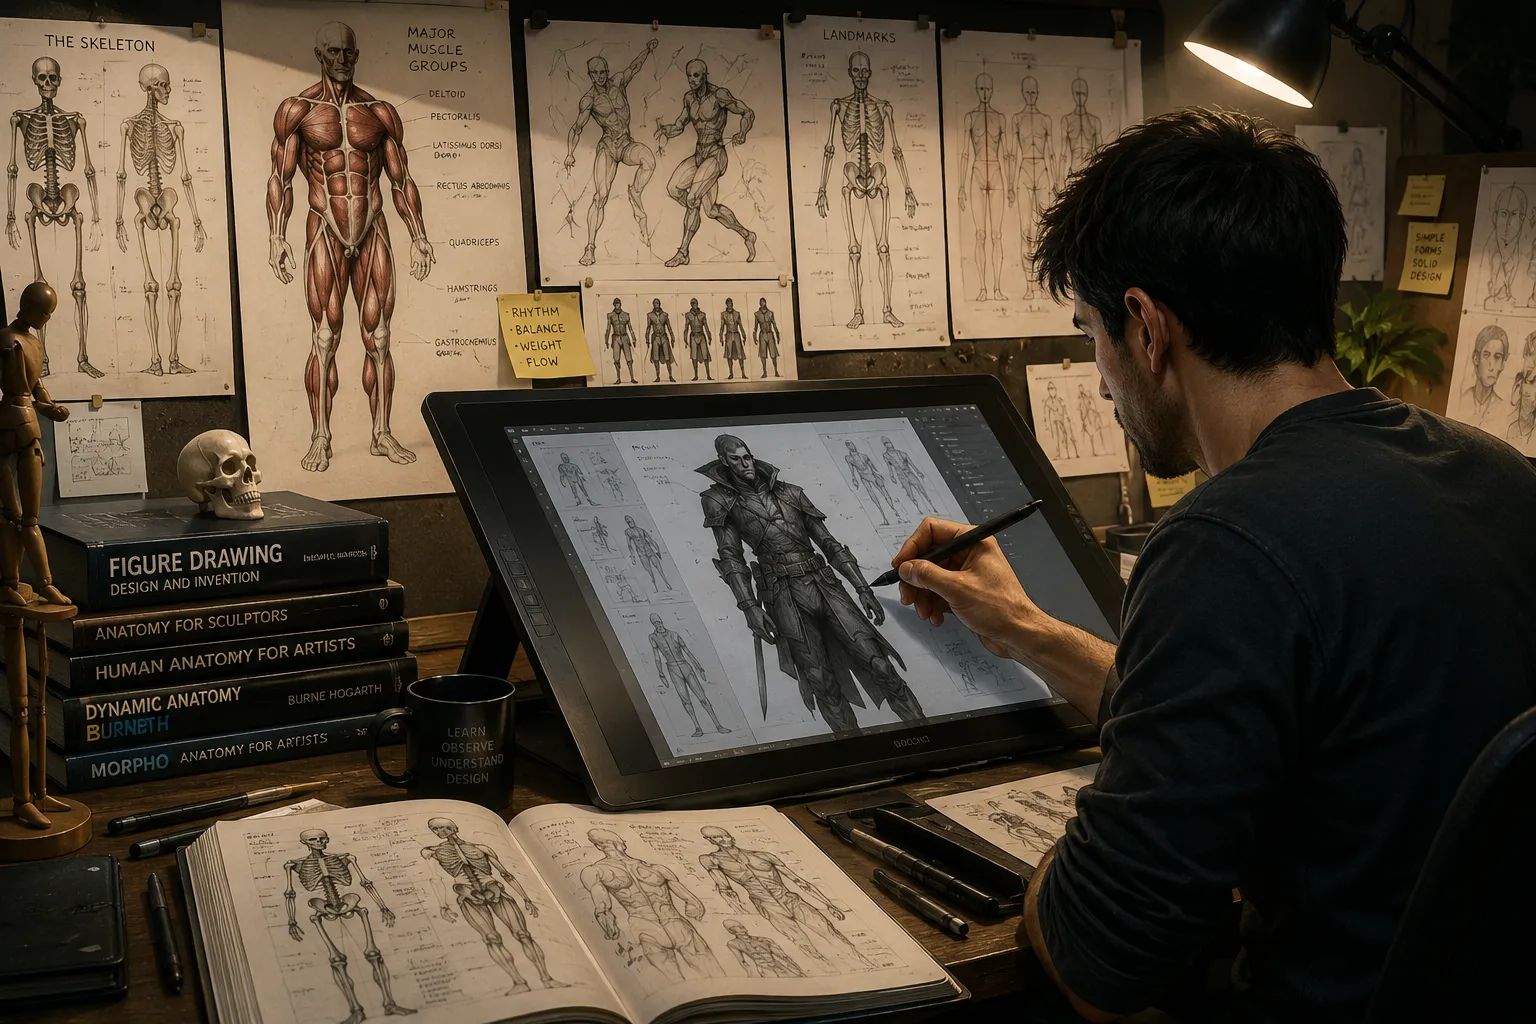
Anatomy for Concept Artists: What You Actually Need to Learn
Anatomy for concept artists is not about memorizing every bone, muscle, tendon, and Latin anatomical term. It is about understanding enough human structure to invent believable characters, change proportions intentionally, draw figures from imagination, and recognize when a pose simply does not look right.
The short answer: Concept artists should prioritize gesture, proportions, skeletal landmarks, the rib cage and pelvis, major muscle groups, joints, hands, feet, heads, and how the body changes during movement. Learn anatomy as a system of three-dimensional forms rather than a collection of muscles to memorize.
New to figure drawing? Begin with our Human Anatomy for Artists guide, then return here to learn how concept artists apply anatomy to character invention.
Advertisement
What Anatomy Do Concept Artists Actually Need to Learn?
Concept artists need functional anatomy: the structures that determine silhouette, movement, proportion, balance, and believable form.
Your highest priorities should be:
- Gesture and movement
- Human proportions
- The skeleton and major bony landmarks
- Rib cage and pelvis
- Major muscle groups
- Shoulders, elbows, knees, and other joints
- Head and neck
- Hands and feet
- Surface anatomy
- Anatomy in perspective
- Anatomy during movement
- Anatomy beneath clothing and armor
- Drawing anatomy from imagination
- Exaggerating anatomy without destroying believability
This distinction matters because concept art is fundamentally about design.
A medical student needs anatomical precision to understand the human body. A concept artist needs enough anatomical knowledge to manipulate that body convincingly.
That difference can save you hundreds of hours of unfocused study.
How Should Concept Artists Practice Anatomy?
A short, structured practice session is usually more effective than hours of unfocused drawing.
Try this 45-minute anatomy routine:
- 5 minutes — Gesture: Draw several 30–60 second poses.
- 10 minutes — Structure: Draw rib cages and pelvises from reference.
- 10 minutes — Anatomy: Study one muscle group, joint, or anatomical landmark.
- 10 minutes — Construction: Rebuild the figure using simplified three-dimensional forms.
- 10 minutes — Imagination: Create a new pose without looking at the original reference.
The final step is critical.
Reference teaches you what the body looks like. Drawing without reference tests whether you understand its structure well enough to recreate and manipulate it.
After completing the imagined pose, compare it with a suitable reference. Look for problems with balance, proportions, joint placement, perspective, and the relationship between the rib cage and pelvis.
Do not attempt to study the entire body during every session. A focused session on shoulders, knees, hands, or torso rotation will usually teach you more than trying to cover everything at once.
1. Start With Gesture Before Muscles
One of the biggest mistakes beginning artists make is studying individual muscles before learning how the entire figure moves.
Gesture describes the direction, rhythm, weight, and energy of a pose.
Before drawing the deltoid, trapezius, quadriceps, or abdominal muscles, you should be able to look at a reference and identify the major action running through the figure.
A beautifully rendered anatomical drawing can still feel lifeless when the gesture underneath it is weak.
For concept artists, gesture is especially important because characters frequently need to communicate personality through pose.
A warrior leaning aggressively forward communicates something different from a cautious character whose weight shifts backward—even if both characters have identical anatomy.
Why is gesture important for concept artists?
Gesture gives anatomy movement and intent. Without gesture, anatomically accurate characters can appear stiff. Concept artists use gesture to establish the action, balance, weight, and personality of a pose before adding skeletal structure, muscles, clothing, armor, or surface detail.
A useful workflow is:
- Establish the line of action.
- Position the head.
- Indicate the rib cage.
- Position the pelvis.
- Establish the limbs.
- Check balance and weight distribution.
- Add anatomical structure.
- Introduce costume and design details.
Think:
Gesture → Structure → Anatomy → Design → Detail
If a character becomes stiff as you add anatomical information, return to the gesture. Redraw the pose using a few flowing lines and simple forms, then rebuild the structure on top.
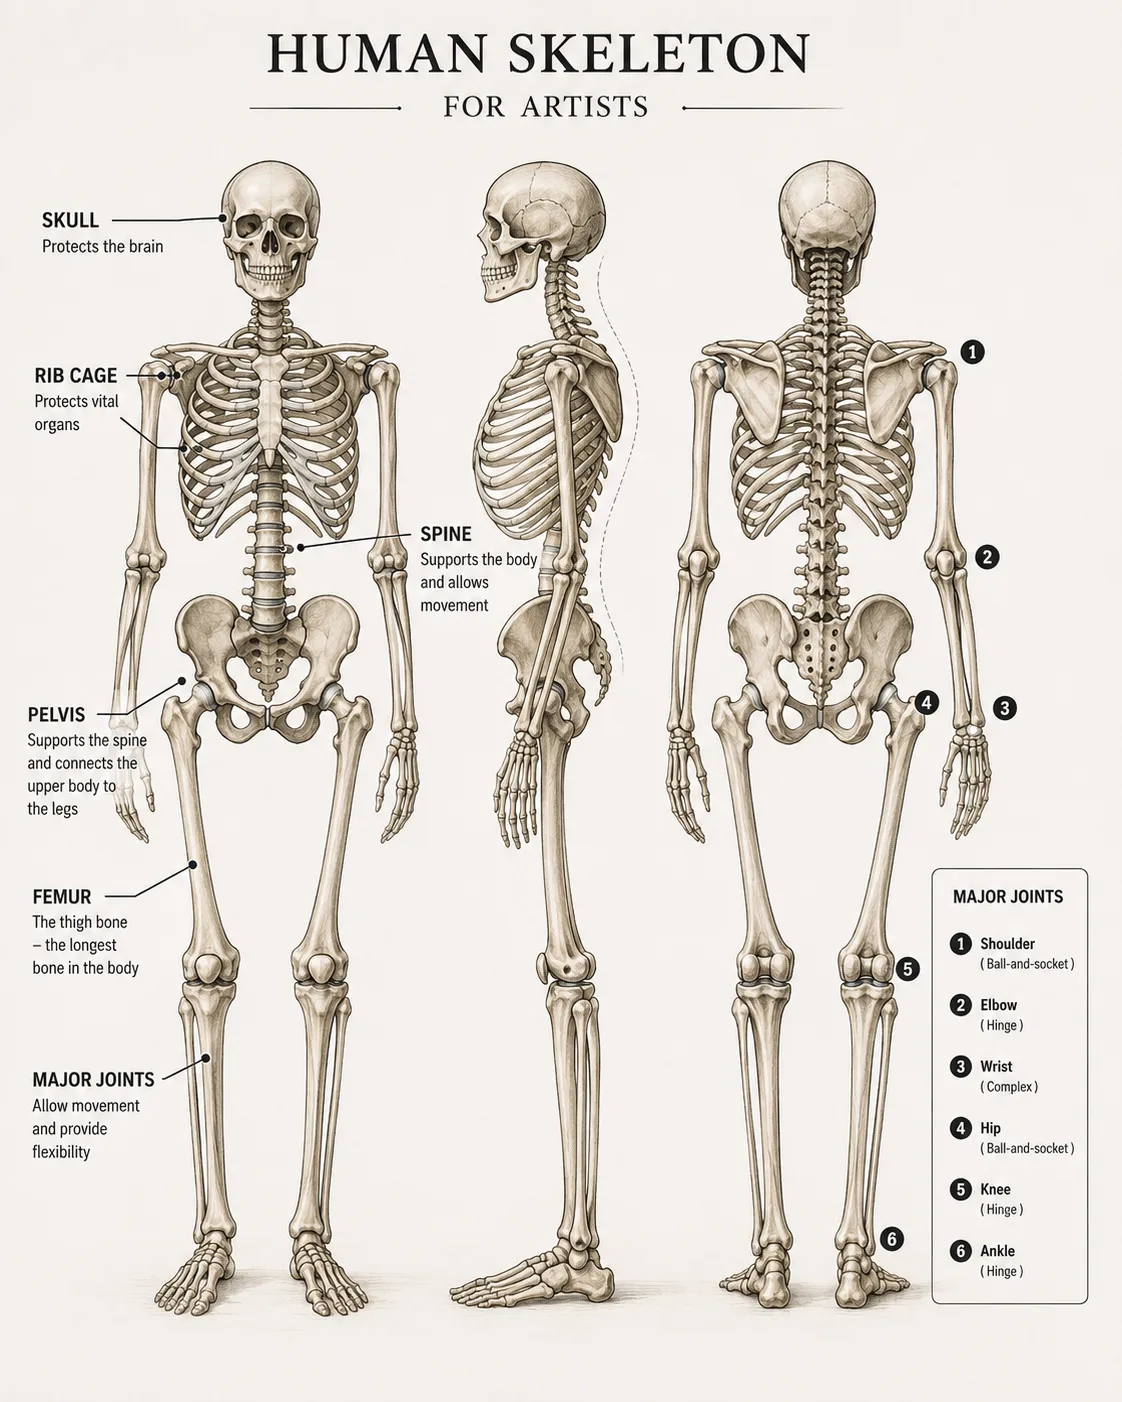
2. Learn the Skeleton as a Framework
You do not need to memorize every bone in the human body.
You do need to understand the major skeletal structures that control the figure.
Focus especially on:
- Skull
- Spine
- Rib cage
- Clavicles
- Scapulae
- Pelvis
- Humerus
- Radius and ulna
- Femur
- Patella
- Tibia and fibula
Think of the skeleton as the architecture underneath your character.
If that architecture is wrong, muscles, clothing, armor, and rendering will not rescue the drawing.
For example, understanding the relationship between the rib cage and pelvis helps you twist a torso convincingly. Understanding the clavicle and scapula helps explain what happens when a character raises an arm.
That knowledge is more useful to a concept artist than memorizing dozens of obscure anatomical names.
3. Memorize the Major Anatomical Landmarks
Landmarks are among the most useful pieces of anatomy a concept artist can learn.
They are relatively predictable points where the underlying skeleton influences the visible surface of the body.
Important landmarks include:
- Clavicles
- Acromion of the shoulder
- Sternum
- Bottom of the rib cage
- Iliac crest of the pelvis
- Anterior superior iliac spine
- Elbows
- Kneecaps
- Tibia
- Ankles
- Greater trochanter
- Scapulae
These landmarks help you reconstruct a figure when muscles, body fat, clothing, lighting, or perspective make its structure difficult to see.
Artist and educator Stan Prokopenko describes bony landmarks as useful reference points because bones remain comparatively consistent while muscle and fat vary between individuals. Landmarks can therefore help artists judge gesture, proportion, measurement, and orientation.
Study Proko's guide to landmarks of the human body
Landmarks are especially powerful when designing characters with dramatically different body types.
A lean assassin and a massive warrior might have radically different silhouettes, but their underlying skeletal relationships still provide the structural logic that makes each design believable.
4. Think of the Rib Cage and Pelvis as 3D Forms
If you remember only two large masses from anatomy study, remember the rib cage and pelvis.
Instead of treating the torso as a flat outline, imagine two three-dimensional structures:
Rib cage → a large egg-like mass
Pelvis → a block or bowl-like mass
The spine connects them.
This simple model allows you to construct:
- Twisting
- Bending
- Leaning
- Foreshortening
- Contrapposto
- Weight shifts
Practice drawing the rib cage and pelvis at different angles without adding muscles.
Rotate them. Tilt them. Move them independently. Then connect them with the spine.
This exercise develops something essential for concept art: the ability to construct figures in three-dimensional space instead of copying their visible outlines.
5. Learn Major Muscle Groups, Not Every Muscle
Concept artists need to understand muscles, but not every muscle deserves equal attention.
Prioritize the muscles that visibly affect surface form, silhouette, movement, and the transition between major masses.
Torso
Focus on:
- Pectoralis major
- Trapezius
- Latissimus dorsi
- Rectus abdominis
- External obliques
- Serratus anterior
- Erector spinae
Shoulders and arms
Focus on:
- Deltoid
- Biceps
- Triceps
- Major forearm flexor mass
- Major forearm extensor mass
Hips and legs
Focus on:
- Gluteus maximus
- Quadriceps
- Hamstrings
- Adductors
- Gastrocnemius
- Soleus
- Tibialis anterior
Learn smaller structures later as your work requires more anatomical precision.
The goal is to understand how large muscle masses affect form and silhouette.
A concept artist designing a barbarian, superhero, creature, soldier, or stylized human needs to know what can reasonably be enlarged, compressed, stretched, or simplified.
6. Understand Where Muscles Attach
Knowing a muscle's name is less useful than understanding what that muscle connects and how it affects movement.
Ask three questions:
Where does it begin?
Where does it end?
What happens when the joint moves?
This turns anatomy from memorization into mechanics.
For example, understanding how muscles travel across the shoulder helps you predict what happens when the arm rises—even when you do not have a reference showing that exact pose.
That ability becomes extremely valuable when designing characters from imagination.
Proko's anatomy curriculum similarly builds from the skeleton into muscles, including their origins and insertions, to help artists understand structure rather than simply copy surface appearances.
Explore Proko's Anatomy of the Human Body course
7. Learn How Joints Actually Move
Concept art often demands extreme poses.
Characters crouch, leap, climb, fight, carry weapons, run, fall, and twist. That makes joint mechanics essential.
Pay particular attention to:
- Shoulder
- Elbow
- Wrist
- Spine
- Hip
- Knee
- Ankle
Learn the approximate range of motion for each joint. Then study what happens to the surrounding forms during that movement.
Ask:
- Which bones are rotating?
- Which side of the joint compresses?
- Which side stretches?
- How does the movement affect the silhouette?
- Can the character maintain balance in this position?
- Would clothing or armor restrict the movement?
This helps prevent a classic character-design problem: a pose that initially looks dynamic but becomes physically impossible when examined closely.
8. Study the Head as a Three-Dimensional Structure
Faces attract attention immediately, so anatomical errors in the head are particularly noticeable.
Do not begin by memorizing facial details. Start with the skull.
Understand:
- Cranium
- Brow ridge
- Cheekbones
- Jaw
- Eye sockets
- Nose placement
- Jaw hinge
Then study how the facial features sit on those structures.
This allows you to rotate heads more convincingly and design different faces without simply copying photographs.
It also makes stylization easier.
Once you understand the structural relationship between the jaw, cheekbones, brow, nose, and skull, you can intentionally exaggerate those relationships while maintaining believable construction.
9. Don't Avoid Hands and Feet
Artists famously struggle with hands, but concept artists cannot hide them forever.
Hands communicate:
- Action
- Emotion
- Personality
- Scale
- Occupation
- Age
- Strength
Start by simplifying the hand into:
Palm + thumb mass + grouped fingers
Do not begin by drawing five individually detailed fingers.
Likewise, think of the foot as a wedge-like three-dimensional structure before worrying about individual toes.
Repeated simplified studies are usually more useful than spending several hours rendering a single hand or foot.
When designing a character, also consider how gloves, weapons, tools, footwear, or armor affect these structures without erasing their underlying mechanics.
10. Learn Anatomy in Perspective
Knowing what a torso looks like from the front is not enough.
Concept artists need to understand what happens when the torso rotates, tilts, bends, or moves toward and away from the viewer.
Practice drawing anatomical forms from:
- Front
- Back
- Side
- Three-quarter view
- High angle
- Low angle
- Foreshortened poses
Eventually, try drawing the forms without reference and then compare your construction against a reference afterward.
This exposes gaps in your mental model quickly.
If you can only draw a body part from one memorized viewpoint, you do not yet understand it as a three-dimensional form.
Watch: Introduction to Human Anatomy for Artists
The following Proko lesson provides a useful overview of why artists study anatomy and how skeletal and muscular knowledge contributes to drawing the figure.
After watching it, do not simply continue watching tutorials. Draw.
Anatomy is learned through application.
11. Study Real People Before Stylizing Anatomy
Concept artists frequently work with exaggeration.
Heroes may have enormous shoulders. Villains might have elongated limbs. Fantasy characters may combine human and animal anatomy. Stylized characters may barely resemble realistic people.
Successful exaggeration usually begins with understanding what is being exaggerated.
Think of realism as your baseline.
Once you understand that baseline, you can deliberately change it.
A useful exercise is to draw the same character three ways:
- Realistic proportions
- Moderately exaggerated proportions
- Extreme stylization
Keep the pose consistent.
Notice which anatomical relationships can change dramatically and which structural relationships must remain understandable.
Exaggeration works best when it reinforces the character's function, personality, or story rather than changing proportions at random.
12. Use Anatomy to Support Character Design
Concept artists do not study anatomy merely to produce anatomical drawings.
They study anatomy to design.
Consider what different anatomical choices can communicate:
- A heavily developed upper body can imply physical power.
- Long limbs can suggest elegance, speed, or awkwardness.
- Large hands can imply strength, labor, or stylization.
- A compressed torso and oversized extremities can produce an entirely different visual personality.
- Posture can communicate confidence, fatigue, aggression, fear, age, or authority before the viewer sees the character's face.
The anatomical design should also reflect the character's role.
A climber, swimmer, scholar, soldier, dancer, blacksmith, and supernatural creature should not necessarily share the same physique, posture, or movement patterns.
Anatomy is part of visual storytelling.
13. Design Clothing and Armor Around Anatomy
Clothing and armor sit on top of the figure, but they still need to respond to the anatomy underneath.
Before designing a costume, identify:
- Major joints
- Compression and stretch areas
- Weight-bearing structures
- Points where fabric hangs from the body
- Areas where armor plates might collide
- Parts of the silhouette that communicate the character's physique
Shoulder armor must accommodate the movement of the clavicle, scapula, and upper arm. Knee and elbow protection must bend without locking the joint. Heavy equipment changes balance, posture, and the way a character carries their weight.
Clothing can conceal anatomical detail, but it should not erase the underlying structure.
A useful workflow is:
- Draw the unclothed figure using simple anatomical forms.
- Check the pose, balance, and joint placement.
- Add clothing or armor over that construction.
- Test whether the character could move as intended.
- Simplify or exaggerate the outer silhouette without losing structural logic.
This approach prevents costumes from feeling pasted onto the character.
14. Apply Anatomy to Nonhuman Characters
Creature and fantasy-character design often begins by altering or combining recognizable anatomical systems.
Even an imaginary creature needs an internal logic.
Start by asking:
- What supports its weight?
- Where are its major joints?
- How does it balance?
- Which limbs provide propulsion?
- How does the spine bend?
- Where do the major muscle masses need to be?
- Could the creature perform the actions required by its design?
You can combine human and animal references, but avoid attaching unrelated parts without considering how they connect.
If you add wings to a humanoid character, for example, consider the skeletal support and muscle mass necessary to move them. If you lengthen a creature's legs, reconsider its center of gravity and gait. If you enlarge the hands or head, determine how those changes affect balance and posture.
The objective is not perfect biological realism. It is believable design consistency.
Anatomy for Concept Artists vs. Traditional Figure Drawing
| Skill | Figure Drawing | Concept Art |
|---|---|---|
| Gesture | Essential | Essential |
| Proportion | Essential | Essential |
| Skeleton | Important | Very important |
| Muscle anatomy | Important | Important |
| Surface rendering | Often important | Depends on the design |
| Drawing from reference | Core skill | Core skill |
| Drawing from imagination | Useful | Essential |
| Exaggerating proportions | Sometimes used | Extremely useful |
| Character design | Optional | Core skill |
| Costume and armor integration | Usually secondary | Often essential |
| Creature design | Usually secondary | Often important |
| Functional iteration | Useful | Core part of the process |
Concept artists ultimately need to take anatomical knowledge and invent something new with it.
That is the key distinction.
A Practical Anatomy Study Order for Concept Artists
If you are wondering what to learn first, use this order:
- Gesture
- Basic human proportions
- Rib cage and pelvis
- Spine
- Major skeletal landmarks
- Shoulder mechanics
- Hip mechanics
- Major torso muscles
- Major arm muscles
- Major leg muscles
- Head and neck
- Hands
- Feet
- Surface anatomy
- Foreshortening
- Clothing and armor over anatomy
- Anatomy from imagination
- Stylized anatomy
- Nonhuman character anatomy
Do not wait until you have “mastered” one subject before moving forward.
Cycle through them.
Your understanding of gesture will improve your anatomy, and your anatomical knowledge will improve your gesture. Studying costumes, poses, and character design will reveal which anatomical areas need more work.
Recommended Anatomy Book for Concept Artists
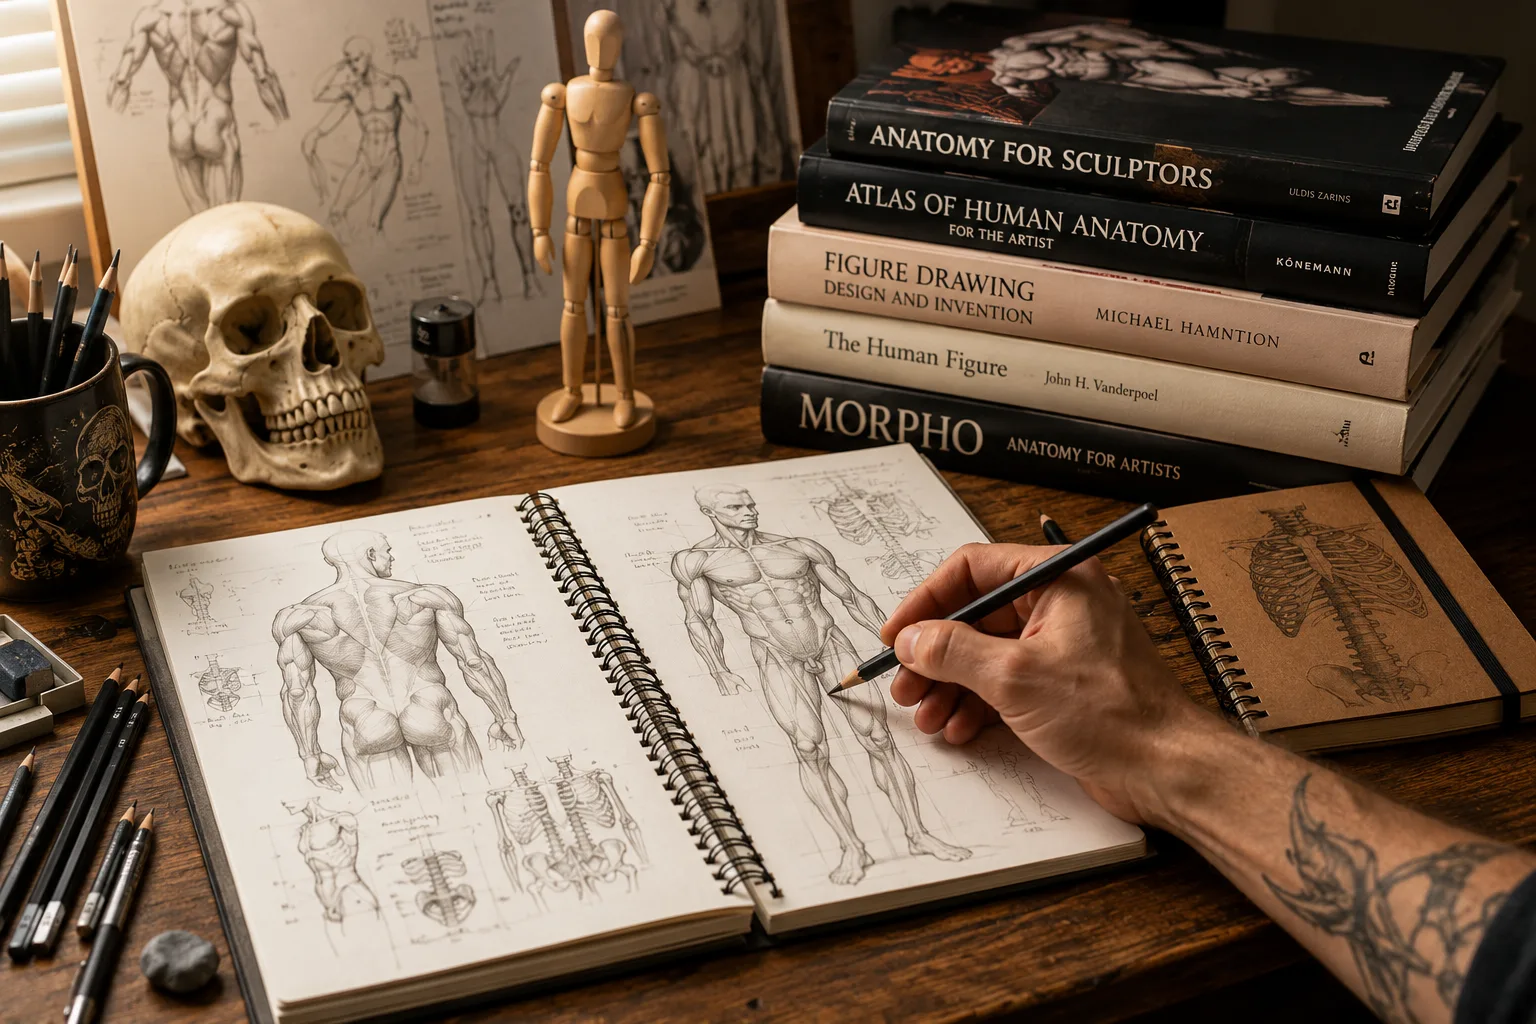
A useful anatomy reference for concept artists is Morpho: Simplified Forms — Anatomy for Artists by Michel Lauricella.
Rather than approaching anatomy as a collection of muscles to memorize, the book breaks the human figure into simplified three-dimensional forms. That makes it especially useful for concept artists who need to rotate, exaggerate, and invent figures from imagination.
Affiliate disclosure: The Artillerist may earn a commission from qualifying purchases made through affiliate links, at no additional cost to you.
For additional options, see our guide to the Best Anatomy Books for Artists.
Common Anatomy Mistakes Concept Artists Make
Memorizing names instead of forms
Knowing the name rectus femoris can be useful.
Being able to construct the thigh convincingly from several angles is more useful.
Drawing muscles individually
Muscles interact as groups. Establish the large masses before showing individual divisions.
Ignoring the skeleton
Muscles need something to attach to.
If the skeletal structure is wrong, the surface anatomy usually becomes wrong too.
Copying without testing memory
Reference is invaluable, but periodically remove it and draw the same structure from memory or from a new angle.
Rendering too early
A beautifully rendered, anatomically incorrect figure is still anatomically incorrect.
Solve gesture and structure first.
Only drawing muscular bodies
Study different ages, builds, weights, levels of fitness, and body types. Concept artists need a broad visual vocabulary.
Designing costumes before constructing the body
Clothing and armor can hide structural errors temporarily, but those errors usually reappear in the silhouette, pose, or joint mechanics.
Construct the figure first.
Exaggerating without a structural reason
Large shoulders, elongated limbs, or unusual proportions should support the character's function, personality, species, or visual theme.
Random exaggeration often produces inconsistency rather than style.
Frequently Asked Questions About Anatomy for Concept Artists
Do concept artists need to know anatomy?
Yes. Concept artists need enough anatomy to construct believable figures, manipulate proportions, understand movement, and design characters from imagination. You do not need medical-level knowledge, but understanding gesture, skeletal landmarks, major muscle groups, joints, proportions, hands, feet, and the head greatly improves character design.
Do concept artists need to memorize every muscle?
No. Start with the major muscle groups that influence visible form, movement, and silhouette. Learn smaller muscles later when your work requires greater anatomical precision.
Should I learn gesture or anatomy first?
Start with gesture, then introduce structure and anatomy. Gesture establishes movement and rhythm, while anatomy explains the forms creating that movement. Study them together, but let gesture lead.
How long does it take to learn anatomy for concept art?
There is no fixed timeline. Basic structural knowledge can improve your work within weeks, while developing an intuitive understanding of anatomy can take years of continued practice. Consistent short studies are generally more useful than occasional marathon sessions.
Can I become a concept artist if I'm bad at anatomy?
Yes, but character-focused concept art becomes much easier as your understanding of the figure improves. Treat anatomy as a learnable visual skill rather than a prerequisite you must completely master before creating concept art.
Is anatomy more important than perspective for concept artists?
Neither replaces the other. Anatomy explains the figure, while perspective determines how that figure exists in three-dimensional space. Even excellent anatomy looks incorrect when the underlying perspective is wrong.
Should concept artists use anatomy references?
Absolutely. References are tools, not shortcuts. Use photographs, anatomical diagrams, life drawing, 3D models, and your own studies to understand unfamiliar poses and structures. Then periodically draw without reference to test what you have learned.
How do concept artists use anatomy when designing armor?
Concept artists use anatomy to locate joints, preserve ranges of motion, understand weight distribution, and determine how armor sits on the body. Armor should support the design without making the pose or movement mechanically impossible.
Do creature concept artists need human anatomy?
Human anatomy is useful, especially for humanoid characters, but creature designers should also study animal anatomy. Understanding several real anatomical systems makes it easier to combine, modify, and exaggerate forms convincingly.
What Should You Learn First?
If you are starting today, do not open an anatomy atlas and begin memorizing hundreds of muscles.
Draw gesture.
Learn to construct the rib cage and pelvis.
Identify the major landmarks.
Understand the skeleton.
Add the largest muscle groups.
Then turn those forms in space, place clothing over them, and test whether you can invent new poses without copying a reference.
The goal of anatomy for concept artists is not anatomical trivia. It is developing a mental model of the body strong enough that you can pose it, rotate it, exaggerate it, costume it, and redesign it from imagination.
That is when anatomy stops being a subject you are studying and becomes a tool you can use.
Continue Learning
Start with our Human Anatomy for Artists guide if you need a broader introduction to the figure.
Then apply the 45-minute practice routine in this article to develop your ability to construct and invent characters. For additional study references, compare our recommended Anatomy Books for Artists.
The strongest concept artists do not simply memorize anatomy.
They understand structure well enough to redesign it.