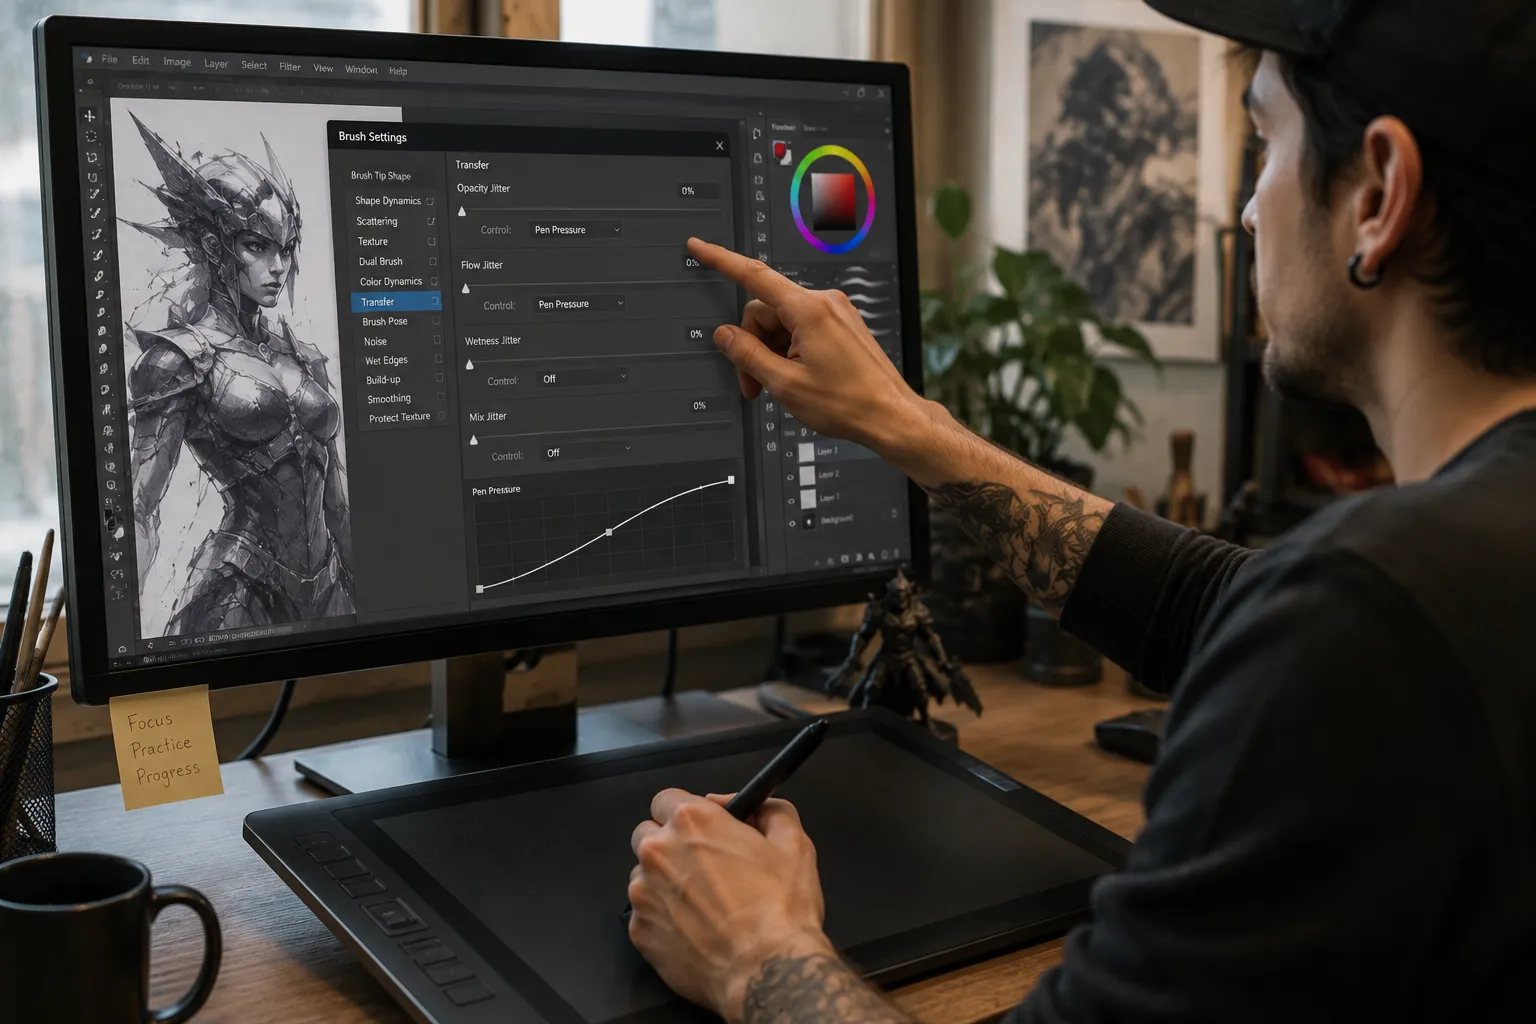
If your lines feel too thin no matter how hard you press, or your brush jumps straight to full opacity the moment the pen touches the screen, the fix almost never involves buying new hardware. It's a settings problem. Here's how to set up pressure sensitivity for digital art properly in the three apps most artists actually use: Procreate, Photoshop, and Clip Studio Paint.
What Pressure Sensitivity Actually Controls
Pressure sensitivity is what translates how hard you physically press your stylus into how your software responds, typically stroke width, opacity, or both. Every drawing app maps this relationship with a pressure curve: how much force on the low end produces a thin, light line, and how much force is needed before you hit maximum thickness or opacity. The default curve rarely matches how any individual person actually draws, which is why lines feel "off" until you adjust it to your own hand.
Procreate
Procreate controls this globally through its pressure curve, found under Actions (the wrench icon) → Prefs → Pressure and Smoothing → Edit Pressure Curve.
Advertisement
The graph has two axes: the horizontal axis represents how much force you apply, and the vertical axis represents the output — line thickness or opacity. Dragging the curve to the left means your Apple Pencil responds to lighter pressure; dragging it to the right means you need to press harder before getting a strong response. You can tap the line to add up to six handles for finer control across the pressure range.
In that same menu, you'll also find Stabilization and Motion Filtering — these smooth out shaky strokes and are especially useful if you draw with a lighter or less steady hand. The Procreate Handbook covers the full range of these settings if you want to go deeper.
Photoshop
Photoshop handles pressure per-brush rather than as one global curve, through the Brush Settings panel.
- Open Window → Brush Settings (or press F5).
- Click Shape Dynamics.
- Under Size Jitter, set the Control dropdown to Pen Pressure. This makes stroke width respond to how hard you press.
- For pressure-based opacity as well, click the Transfer category and set its Control dropdown to Pen Pressure too.
If you see a small warning triangle next to the Pen Pressure option, Photoshop isn't detecting a pressure-sensitive tablet — usually a driver issue or, on Windows, Windows Ink not being enabled in your tablet's driver settings. Adobe's own tablet support guide walks through the fix for most tablet brands.
Clip Studio Paint
Clip Studio Paint uses a guided calibration process rather than a manual curve.
- Go to File → Pen Pressure Settings (on iPad, this is under the CLIP STUDIO PAINT menu instead).
- In the dialog that opens, draw on the canvas with your normal pressure, deliberately varying between light and hard strokes.
- Click Check adjusted settings, then draw again to test the result.
- Use the Stronger or Lighter buttons to fine-tune, or adjust the pressure graph directly.
- Click Complete to apply it across the whole app.
If pressure isn't registering at all, check File → Preferences (Ctrl+K) → Tablet, and toggle between WinTab and Tablet PC under "Using tablet service" — this single setting resolves most no-pressure issues on Windows. Full details are in Clip Studio Paint's official guide to adjusting pen pressure.
How the Three Compare
| Procreate | Photoshop | Clip Studio Paint | |
|---|---|---|---|
| Setup style | Manual curve, drag to adjust | Manual, per-brush dropdown | Guided wizard, draw to calibrate |
| Where it lives | Actions → Prefs → Pressure and Smoothing | Brush Settings panel (F5) | File → Pen Pressure Settings |
| Applies to | Whole app by default | Each brush individually | Whole app, with per-tool overrides available |
| Best for | Artists who want direct, visual control | Artists already fluent in brush panel settings | Artists who'd rather test-and-adjust than read a graph |
Common Problems and Fixes
- Lines only show at one thickness, pressure seems ignored — In Photoshop, this almost always means Shape Dynamics isn't checked, or Control isn't set to Pen Pressure. In Clip Studio Paint, check the WinTab/Tablet PC toggle in Preferences.
- Pressure feels too sensitive, tiny movements cause big changes — Drag the curve right in Procreate, lower the sensitivity in Clip Studio Paint's calibration, or reduce Size Jitter's percentage in Photoshop.
- Lines are shaky or wobbly even with good pressure control — This usually isn't a pressure issue at all. Try increasing Stabilization (Procreate) or Stroke Smoothing (Photoshop, Clip Studio Paint) instead.
- Settings worked yesterday, not today — Driver updates and app updates can silently reset tablet detection. Redo the relevant calibration step above before assuming something's broken.
Frequently Asked Questions
Which app has the best pressure sensitivity? None objectively, all three fully support pressure-sensitive styluses. The difference is workflow: Procreate and Clip Studio Paint are easier for beginners since they don't require digging through brush panels, while Photoshop gives more granular per-brush control once you know where to look.
Why does my Apple Pencil feel unresponsive at light pressure? The Apple Pencil has a wide dynamic range, meaning it takes real force to reach 100% pressure by default. If you draw with a light touch, drag Procreate's pressure curve to the left so lighter pressure produces a fuller response.
Do I need to redo these settings for every new brush? In Procreate and Clip Studio Paint's global setting, no — it applies app-wide. In Photoshop, pressure response is a property of each individual brush, so a brush that hasn't had Shape Dynamics enabled won't respond to pressure even if your tablet is working fine everywhere else.
Will a more expensive tablet fix my pressure sensitivity problems? Rarely. Most "pressure isn't working right" complaints are settings or driver issues, not hardware limitations, worth working through the fixes above before spending money on new hardware. If you're shopping for a first tablet, though, our guide to choosing between Procreate and Photoshop is a good starting point, and pairing the right software with correctly calibrated monitor colors rounds out the rest of your setup.
Bottom Line
Pressure sensitivity problems feel like a hardware issue but are almost always a five-minute settings fix once you know where to look. Procreate's curve, Photoshop's Shape Dynamics, and Clip Studio Paint's calibration wizard all do the same job through different interfaces, spend the few minutes getting it right, and it'll stop pulling your attention away from actually drawing. If you're brand new to digital art entirely, our beginner's guide to digital artwork is a good place to start before diving into settings this specific.