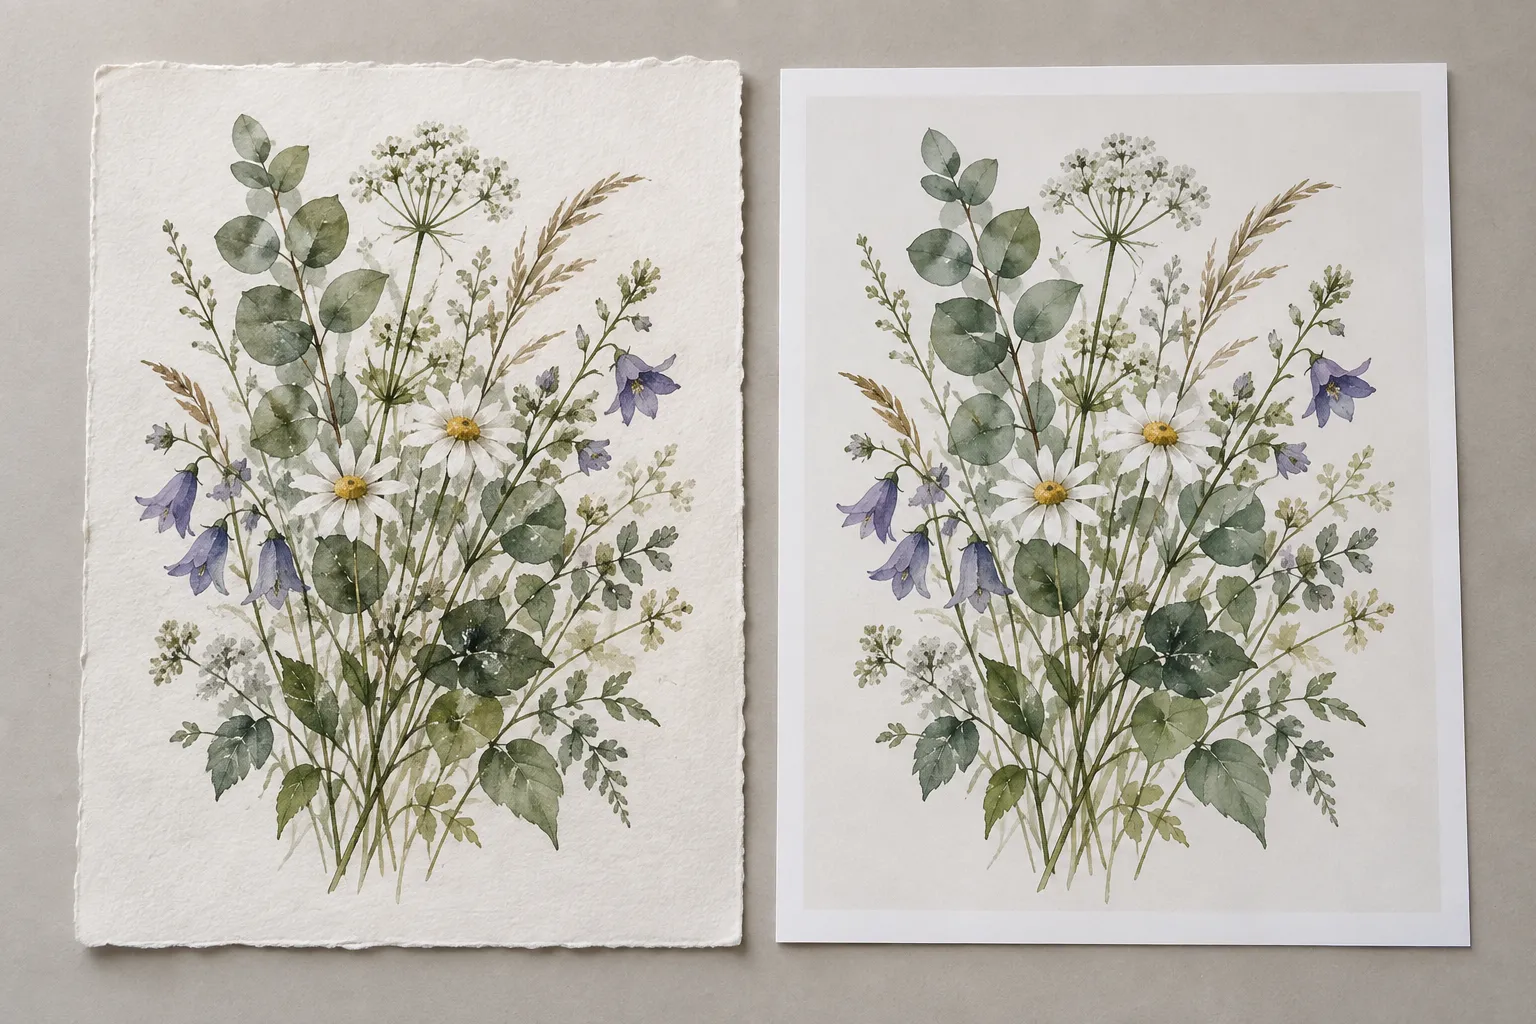
Learning how to make prints of your art starts with one good reproduction. Choose an original, capture or export a detailed digital file, prepare it for the paper and size you want, and approve a physical proof before ordering copies to sell.
You can begin with a print shop and a small order. Owning a specialist printer is optional; understanding your file, checking the finished print, and knowing your costs are essential.
How Do You Make Prints of Your Art?
To make prints of your art, scan or photograph physical artwork, or export the original digital artwork. Prepare the file at the intended print size, follow your printer's color and file requirements, choose a suitable paper, and order a proof. Once the proof looks right, produce a small batch or use a print-on-demand service.
Advertisement
Here is the process:
- Choose one artwork and one starting print size.
- Create a sharp, evenly lit digital reproduction.
- Check pixel dimensions, crop, borders, and color.
- Select a printing method and paper.
- Review a physical proof and correct problems.
- Calculate your costs and set a sustainable price.
- Package, photograph, and list your first prints.
For a first release, I recommend one image, one paper, and one or two sizes. Each extra variation adds another file to check, product to describe, and potential stock item to manage.
Step 1: Choose Artwork That Reproduces Well
Start with a finished piece that represents your work and still reads clearly at a smaller size. Fine lines, pale washes, dark textures, metallic paint, and subtle gradients deserve particular attention because reproduction can change their appearance.
Look at the artwork from the distance someone would view a print. Does its focal point remain clear? Do small details carry the image, or can it work without every brushstroke being visible?
Choose your first size before preparing the file. An 8 × 10-inch print is a different shape from a 12 × 16-inch painting. You must crop the image, add margins, or choose a size with matching proportions. Stretching it to fit changes the artwork.
Decide whether your advertised size refers to the paper or the printed image. An 8 × 10-inch sheet with a half-inch border on every side contains a 7 × 9-inch image. Make this distinction clear in both your production notes and product listing.
Step 2: Turn the Artwork Into a Digital File
Your starting method depends on the medium, size, and condition of the original.
Scanning Drawings and Flat Artwork
A flatbed scanner can be convenient for smaller, flat works on paper that can safely contact its surface.
- Clean the scanner glass before placing the artwork.
- Capture in color when paper tone or subtle marks matter, even for a mostly monochrome drawing.
- Use the scanner's optical resolution rather than relying on an interpolated resolution setting.
- Inspect the scan for clipped pale marks, lost shadow detail, and unwanted automatic sharpening.
- Save an untouched master before making corrections.
For a same-size reproduction, a 300-PPI capture may be sufficient. A 600-PPI capture can provide room for enlargement or cropping when the scanner resolves useful detail. The calculation is straightforward: doubling both printed dimensions halves the effective PPI.
Avoid pressing loose charcoal, pastel, wet paint, or delicate surfaces against scanner glass. Large or fragile work may be better handled by a reproduction studio. Scan stitching is an option for suitable flat work, but overlaps must align and match in brightness.
Photographing Paintings and Larger Work
A photograph can capture artwork that is too large, textured, or delicate to scan. The main challenges are uneven light, glare, distortion, and insufficient detail.
Place the artwork securely, position the camera square to it, and keep the camera sensor plane parallel to the artwork. Use a tripod or stable support. Light the surface evenly and check all four corners as well as the center.
Take a reference photograph with a neutral gray card or color target in the same lighting, then make the final capture without obscuring the art. Avoid mixing differently colored light sources. If your equipment supports RAW capture, retain that original file for editing.
A phone may be adequate for a small print if the resulting file is sharp and evenly lit. Check the actual pixels after cropping; a camera's advertised megapixel count cannot tell you whether glare or missed focus spoiled the capture. Review fine detail before paying for a large print.
Metallic, fluorescent, glossy, and heavily textured work may need professional reproduction. A conventional paper print cannot reproduce every reflective or surface effect of the original.
Exporting Digital Artwork
For digital art, begin with the original working document. Export from that file rather than downloading an image from social media, where resizing and compression may have reduced its quality.
Keep the layered master. Make separate delivery copies for each size and print provider. Check that hidden layers, unintended backgrounds, and cropped signatures do not appear in the export.
Step 3: Choose the Right Resolution and Print Size
PPI means pixels per inch in the printed image. DPI describes a printer's output dots. Print services often use “DPI” when requesting image resolution, so confirm the pixel dimensions and finished size as well as the number in the resolution box.
A practical target for artwork viewed closely is 300 PPI at the final image size, unless your provider specifies otherwise. Adobe's guide to print dimensions and resolution recommends this starting point while allowing for printer-specific requirements.
Common Print Sizes at 300 PPI
For an image that fills the stated dimensions, before adding any required bleed:
- 5 × 7 inches: 1,500 × 2,100 pixels.
- 8 × 10 inches: 2,400 × 3,000 pixels.
- 8 × 12 inches: 2,400 × 3,600 pixels.
- 11 × 14 inches: 3,300 × 4,200 pixels.
- 12 × 16 inches: 3,600 × 4,800 pixels.
- 16 × 20 inches: 4,800 × 6,000 pixels.
Calculate it yourself with inches × PPI = pixels for each dimension. Convert centimeters to inches by dividing by 2.54.
For example, a 3,000 × 4,000-pixel image supports a 10 × 13.33-inch image at 300 PPI without enlargement. A different print shape will require a crop or margins.
Does Changing 72 DPI to 300 DPI Improve Quality?
Changing resolution metadata alone does not add image detail. A 1,200 × 1,800-pixel file remains the same pixel count whether labeled 72 or 300 PPI. At 300 PPI, it produces a 4 × 6-inch image.
Resampling creates or removes pixels, but enlargement cannot guarantee faithful recovery of detail missing from the original capture. Adobe explains this relationship in its printed image resolution guide.
When the file is too small, consider a smaller print or a better capture first. If you enlarge it, inspect the result and order a proof at the intended size.
Step 4: Prepare Color, Borders, and the Delivery File
Make corrections on a copy. Remove accidental dust, straighten the image, and adjust exposure or color to represent the artwork accurately. Preserve intentional paper texture and pencil marks unless your product is meant to be an edited variation.
Should Art Prints Use RGB or CMYK?
Use the color space your print provider requests. There is no universal rule that every print file must be CMYK.
For example, Printful requests sRGB for its final print files. Other providers may specify an RGB profile, a CMYK conversion, or a particular PDF setup. Check the requirements for the exact product before exporting. Printful's color-profile guidance
Keep a master with its appropriate embedded profile, then prepare delivery copies to the provider's specification. Avoid assigning a different profile simply to change the label; assigning and converting profiles are different operations.
Why Prints Can Look Darker Than Your Screen
A screen emits light; a paper print reflects it. An overly bright display can encourage editing a file too dark. Paper color, room lighting, ink, and the printer profile also affect the result.
Use consistent viewing conditions and a sensible display brightness. Our guide to monitor settings for digital art explains the display side of this workflow.
If your provider supplies an ICC profile for soft proofing, use it to preview the approximate output in compatible software. A soft proof helps reveal likely changes but does not replace a physical sample.
For home printing with Photoshop managing color, choose the correct printer-and-paper profile and disable the driver's additional color correction. Adobe documents this setup in its printing with color management guide. If the printer manages color instead, follow that workflow rather than applying both conversions.
File Formats and Bleed
Keep a high-quality master, such as a TIFF or your application's working format. Deliver the format requested by the printer: that might be JPEG, TIFF, PNG, or PDF. A PDF is useful when the provider needs a defined page layout, but wrapping a low-resolution image in a PDF does not improve it.
Bleed is extra image area beyond the final trim edge. It helps prevent an unintended white sliver when a sheet is cut. Use the provider's bleed and safe-area measurements; do not guess. Keep signatures and important details inside the safe area.
Step 5: Choose How to Print
A Local or Specialist Print Shop
This is a practical starting point when you want help choosing paper or evaluating a sample. Ask whether the shop regularly reproduces artwork and whether it offers capture, file preparation, or only printing.
Request a quote covering setup, proofs, printing, trimming, and delivery. Confirm whether you receive a reusable master file if you pay for scanning or photography.
Printing at Home
Home printing provides control over timing and small batches. It also makes you responsible for equipment, paper compatibility, ink, maintenance, failed prints, and consistent settings.
Before buying a printer, calculate how often you expect to use it and the sizes you need. Compare the complete operating cost with outsourcing. Include your time and any maintenance guidance for periods of inactivity.
Print on Demand
Print on demand produces an item after someone orders it, reducing the need to hold finished stock. You still need to evaluate quality, shipping, packaging, and the customer's experience.
Order a sample of the actual product before listing it. Review the supplier's procedure for damage, misprints, and replacements. For differences between selling platforms, read our Etsy, Redbubble, and Society6 comparison.
Step 6: Select Paper and Approve a Proof
Paper changes how a reproduction feels as well as how it looks. Start with samples rather than assuming the thickest or most expensive stock is best.
- Smooth matte: worth testing for drawings, illustration, and work where low glare matters.
- Textured fine-art paper: worth testing for watercolor and painterly images; check whether its texture interferes with small details.
- Luster or satin: worth testing for rich color and contrast with less glare than a high-gloss surface.
- Glossy: can emphasize contrast and saturation, but reflections may affect viewing.
Confirm that the paper is compatible with the printer and ink system. Weight alone does not establish quality or durability.
What Makes a Print Archival or Giclée?
“Giclée” generally describes fine-art inkjet reproduction; the word alone does not establish a particular lifespan. Ask what printer, ink, and paper are used and what evidence supports any permanence claim.
Longevity depends on the complete combination and on display and storage conditions. Hahnemühle's print longevity information describes testing of its papers with pigment inks. That does not mean every print on paper labeled archival has the same performance.
Describe your materials accurately. If you know the paper name and ink type, those details are more useful than an unsupported promise that a print will last a century.
Your Physical Proof Checklist
Examine the proof in consistent, neutral lighting and at a normal viewing distance. Then inspect it closely.
- Do light marks remain visible?
- Are dark areas distinguishable rather than blocked together?
- Are colors an acceptable reproduction of the original?
- Are there bands, scratches, dust, or unexpected sharpening halos?
- Are the crop, image dimensions, and margins correct?
- Is the signature intact and inside the safe area?
- Does the paper suit the image?
Record the approved filename, size, paper, and production settings. Change one variable at a time when correcting a problem. A cheap proof on a different paper cannot fully predict the final product.
Step 7: Calculate the Cost of a Sellable Print
Your cost includes more than paper and ink. Include the expenses required to get a good print ready for the buyer, plus an allowance for the work involved.
A Worked Example
The following figures are illustrative US-dollar assumptions, not supplier quotes or recommended market prices. Suppose a first batch produces 20 sellable prints:
- Printing: $80 total, or $4 per print.
- Capture and proof expenses allocated to this batch: $30 total, or $1.50 per print.
- Protective packaging: $1.25 per print.
- Handling labor allowance: $2 per print.
- Overhead and spoilage allowance: $0.75 per print.
That gives an allocated cost of $9.50 per print before selling fees and postage.
If the hypothetical selling fee is 10% of the item price plus $0.30, a $25 sale leaves:
$25 − $2.50 − $0.30 − $9.50 = $12.70
That remainder is before any additional costs or taxes, including postage if you pay it. It also assumes every print in the batch sells. Unsold stock ties up cash, and your creative time must be compensated somewhere in your overall business model.
Use your platform's actual fee schedule and the amount to which fees apply. For the broader pricing process, see How to Price Your Artwork.
Step 8: Package and List Your First Prints
Let prints dry or cure according to the ink, paper, and provider's instructions before enclosing them. Handle them with clean, dry hands and avoid touching the image surface.
For flat shipping, use suitable protection against abrasion, bending, and moisture. Larger work may need a tube or reinforced flat package; choose a method compatible with the paper. Test the package rather than relying only on a “Do not bend” label.
Photograph a real finished print. Show its surface, border, and scale. If you use a room mockup, label it and also provide product photographs so buyers can judge what they will receive.
Your listing should explain:
- Artwork title and that the item is a reproduction.
- Paper size and image size.
- Paper type and known printing details.
- Whether it is signed, numbered, framed, or unframed.
- Open-edition or limited-edition status.
- Processing time, packaging, and delivery expectations.
For a limited edition, define its scope before selling, keep an edition record, and honor the stated limit. For an open edition, you can continue making copies without promising a fixed total.
A Checklist to Send Your Print Shop
Before placing the production order, confirm these details in writing:
- Artwork filename and version.
- Quantity and orientation.
- Finished paper size and printed image size.
- Border, crop, bleed, and safe-area requirements.
- Pixel dimensions and effective PPI.
- Accepted file format and color profile.
- Paper name, finish, and weight.
- Whether automatic image corrections will be applied.
- Proof approval and whether production will match that proof.
- Total cost, turnaround, and packaging or delivery arrangements.
Keep the approved proof and master file together in your records. This makes reorders and troubleshooting easier.
Frequently Asked Questions
Can I Make Art Prints Without Buying a Printer?
Yes. Prepare your file and use a local print shop, fine-art printing service, or print-on-demand supplier. Order a sample before committing to stock or offering the product to customers.
Is Scanning or Photographing Artwork Better?
Scanning is convenient for flat artwork small enough to fit safely on the scanner. Photography is often more practical for large, textured, or fragile work. Compare the quality of the capture, including sharpness, glare, and color, rather than choosing by method alone.
Can I Use a Phone Photo to Make a Print?
Yes, if the cropped file has enough detail for the intended size and the photograph is sharp, evenly lit, and free from distracting distortion. Make a physical proof. A larger pixel count cannot fix glare or an out-of-focus image.
What Is the Cheapest Way to Start Selling Art Prints?
A small outsourced order or print on demand can reduce your initial equipment expense. Neither is automatically the cheapest per print. Compare the total cost, including proofs, shipping, packaging, selling fees, and the risk of unsold stock.
Do All Art Prints Need 300 PPI?
No. It is a useful starting target for prints examined closely, but acceptable resolution depends on the artwork, output process, size, and viewing distance. Follow your provider's requirements and judge a proof at the intended size.
How Many Prints Should I Order First?
Start with an approved proof, then choose a quantity you can afford to hold while testing demand. A small batch of five to twenty is a planning option, not a sales forecast. Preorders can help estimate demand if your production and delivery commitments are clear.
Can I Make Prints From Digital Artwork?
Yes. Export from your original working document, check the pixel dimensions at your intended print size, and follow the provider's file requirements. Keep the layered master for future edits. Order a physical proof to check color, sharpness, paper, and cropping before offering the print for sale.
Your First Print Release
Choose one artwork, prepare a good file, and get a proof you would be comfortable selling. Record how it was made, calculate the cost, and make a small release you can manage.
Your first batch will teach you about paper, production, packaging, and what your audience responds to. Use those results to decide which image or size to add next.